Reader-supported: we may earn a commission when you buy through our links. Learn more

Author: HannahRev

  • The Best Backpacking Tents of 2026

    The Best Backpacking Tents of 2026

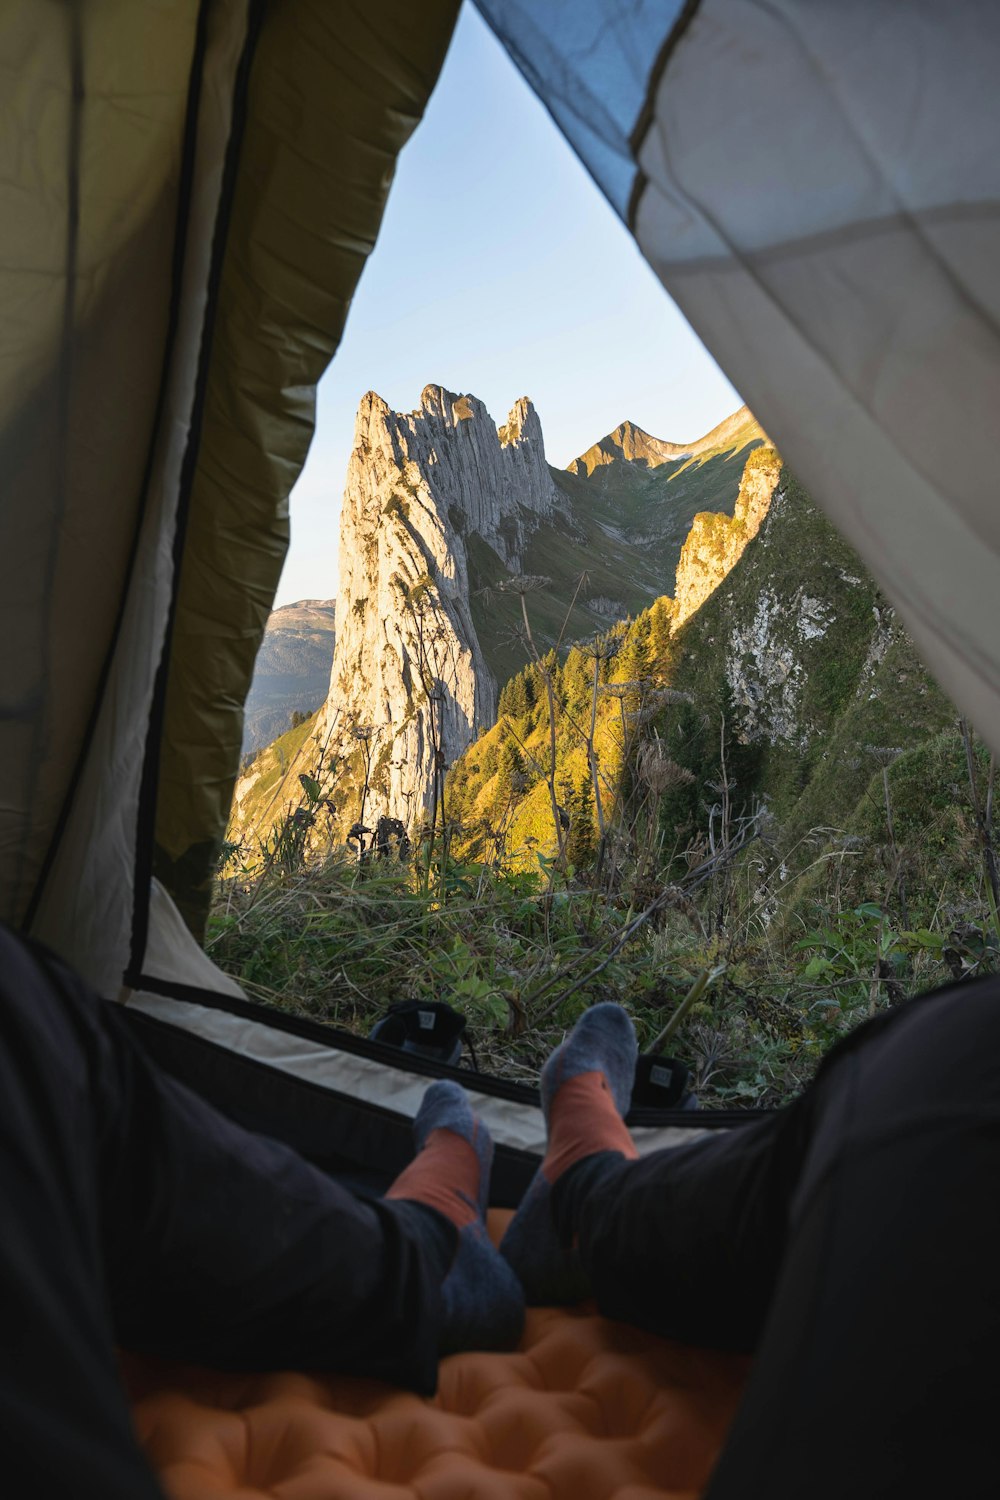
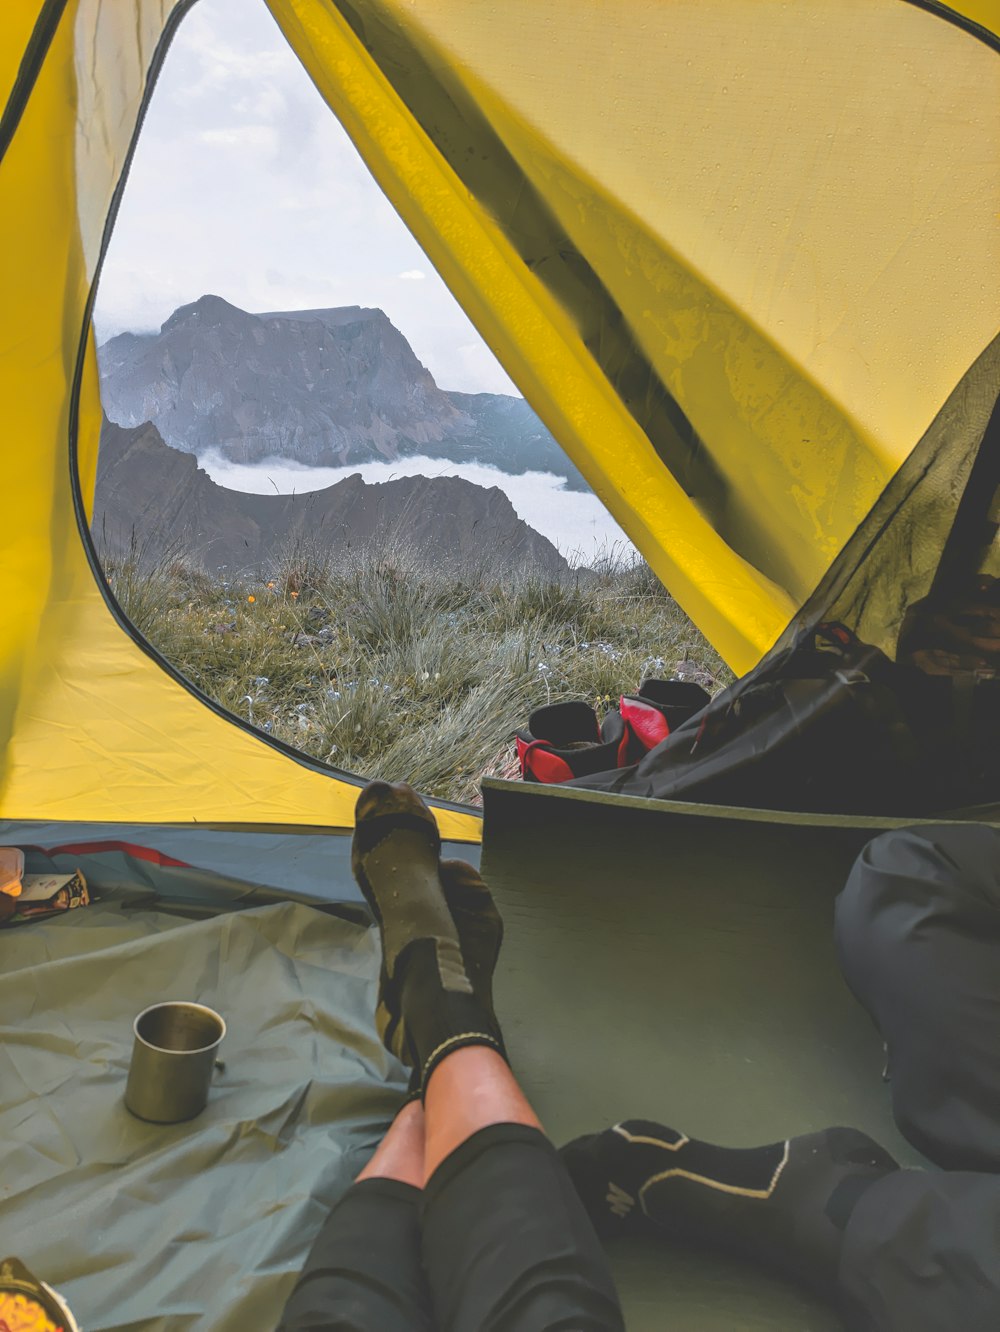
    Your tent is your home on the trail and usually one of the heaviest items in your pack. We picked tents that balance weight, livable space and weather protection, from a featherweight two-person shelter to a roomy family-friendly three-person.

    HannahRev is reader-supported. When you buy through our links we may earn a commission, at no extra cost to you. Our picks are based on published specifications, hands-on reviews from trusted testers and owner feedback.

    Our picks at a glance

    Product Best for Price Trail weight Capacity Doors Freestanding
    Big Agnes Copper Spur UL3 Best overall $650 3.28 lb 3 person 2 Yes
    REI Co-op Half Dome 3 Most livable $399 5.11 lb 3 person 2 Yes
    The North Face Stormbreak 3 Best value $260 6.2 lb 3 person 2 Yes
    Big Agnes Copper Spur UL2 Best lightweight $600 2.56 lb 2 person 2 Yes
    Big Agnes Copper Spur UL3

    1. Big Agnes Copper Spur UL3 — Best overall

    Room for two people and their gear, or three friends, at a weight that’s easy to split. A favorite among backpackers for years.

    Specs: Trail weight: 3.28 lb · Capacity: 3 person · Doors: 2 · Freestanding: Yes · List price: $650

    Pros:

    • Lighter than many 2-person tents
    • Excellent weather protection
    • Two doors and big vestibules

    Cons:

    • Expensive
    REI Co-op Half Dome 3

    2. REI Co-op Half Dome 3 — Most livable

    Steep walls and a generous floor make this feel like a much bigger tent. It’s great for families and shorter trips.

    Specs: Trail weight: 5.11 lb · Capacity: 3 person · Doors: 2 · Freestanding: Yes · List price: $399

    Pros:

    • Genuinely roomy for three
    • Durable materials
    • Easy to pitch

    Cons:

    • Heavy and bulky
    The North Face Stormbreak 3

    3. The North Face Stormbreak 3 — Best value

    A solid, affordable starter tent. It’s heavier than premium options, but it’s built to last.

    Specs: Trail weight: 6.2 lb · Capacity: 3 person · Doors: 2 · Freestanding: Yes · List price: $260

    Pros:

    • Affordable
    • Sturdy build

    Cons:

    • Tight for three adults
    • Heavy
    Big Agnes Copper Spur UL2

    4. Big Agnes Copper Spur UL2 — Best lightweight

    The two-person version of our top pick. It’s an excellent solo tent with room to spare, or a cozy one for two.

    Specs: Trail weight: 2.56 lb · Capacity: 2 person · Doors: 2 · Freestanding: Yes · List price: $600

    Pros:

    • Very light
    • Packs to about two paper-towel rolls

    Cons:

    • Pricey for a 2-person

    How to choose backpacking tents

    Capacity

    Advertised capacity is snug. Two adults are much happier in a 3-person tent, and solo hikers often prefer a 2-person.

    Weight

    Under 4 lb for a 2–3 person tent is excellent. Tents over 5 lb are fine for short trips and car camping.

    Freestanding or not

    Freestanding tents pitch anywhere, even on rock. Semi-freestanding designs save weight but need stakes.

    Doors and vestibules

    Two doors mean no crawling over your partner. Bigger vestibules keep boots and packs dry.

    Ventilation and floor

    More mesh means less condensation but less warmth. Thin floors save weight; add a footprint for rough ground.

    FAQ

    What’s a good weight for a backpacking tent?

    About 2–3 lb per person is a comfortable target. Ultralight tents go lower but trade off durability or space.

    Do I need a footprint?

    With thin, light floors, a footprint (or a cheap sheet of polycryo) adds a lot of life to the tent.
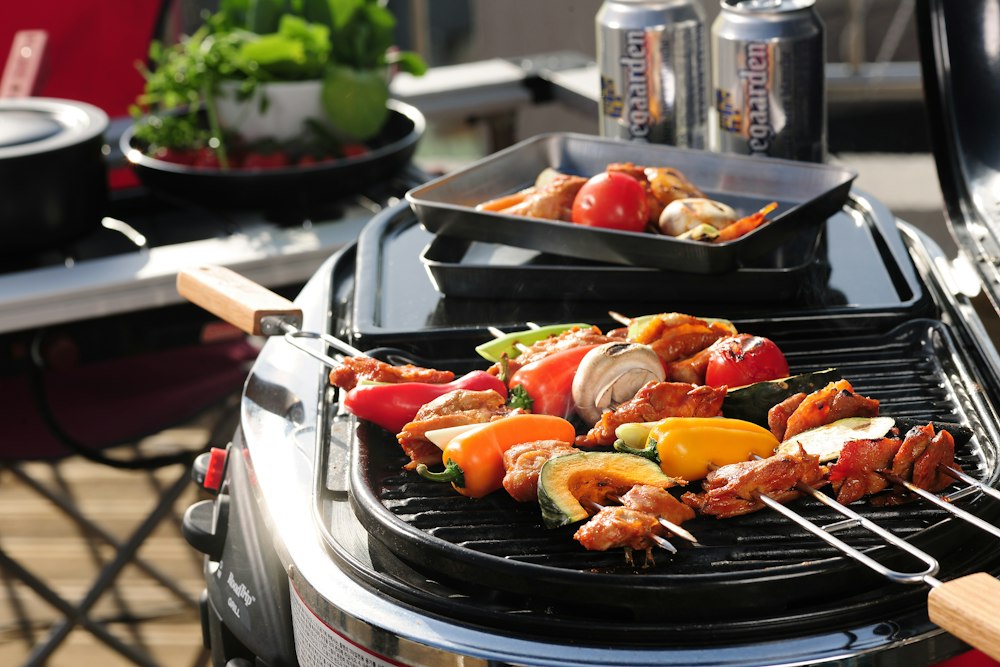
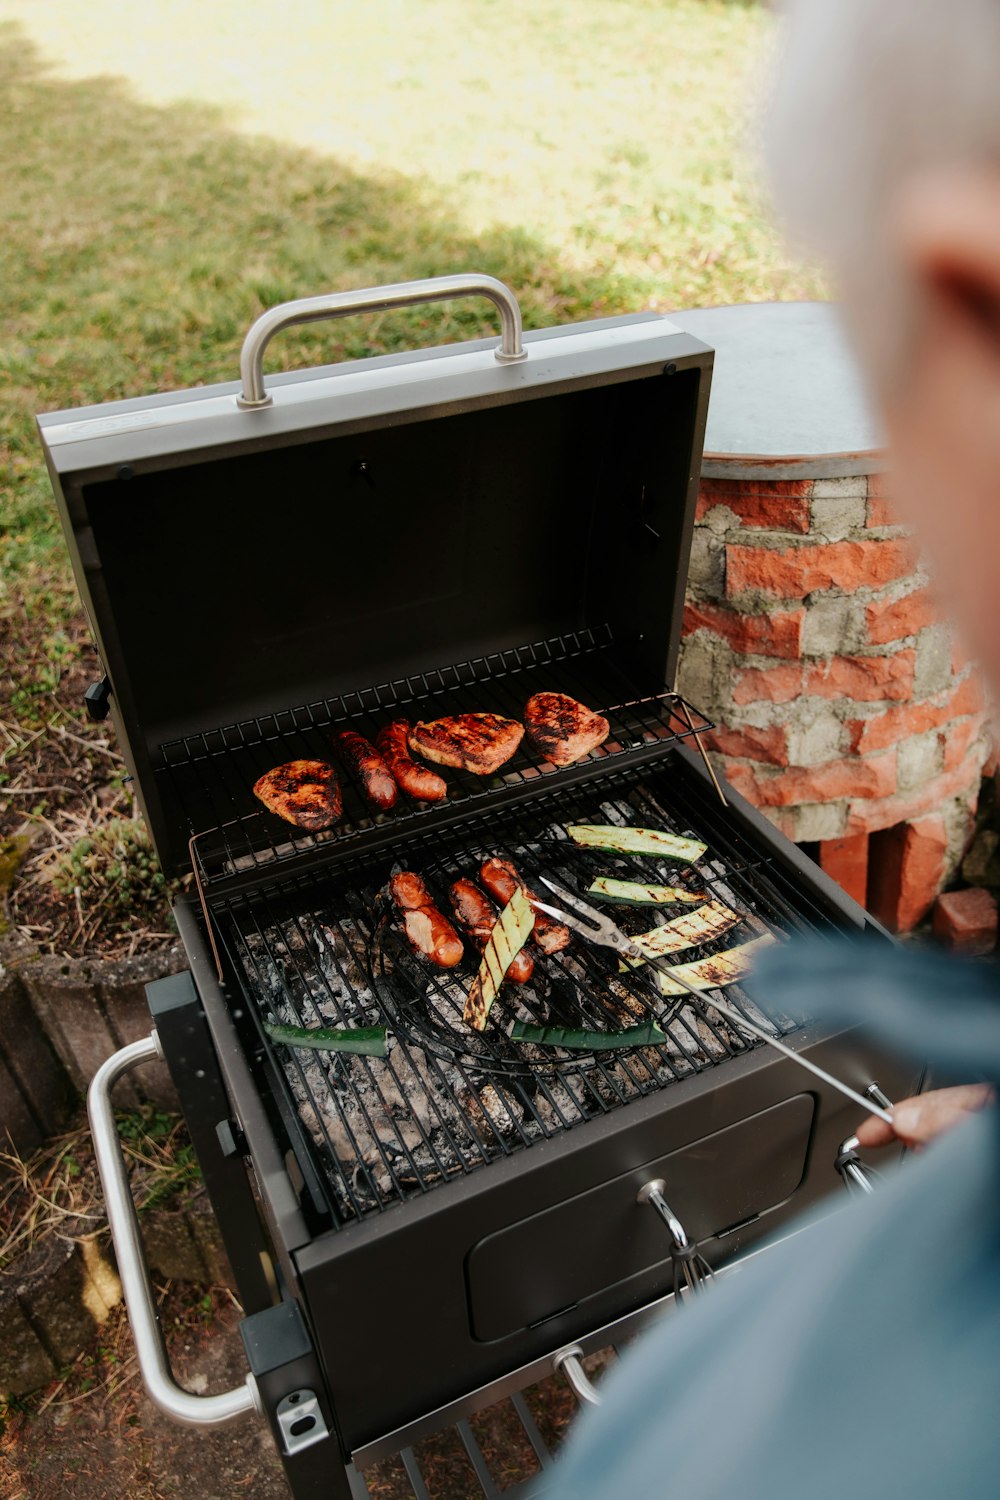
  • The Best Portable Grills of 2026

    The Best Portable Grills of 2026

    Tailgates, campsites, beach days and small patios all deserve real grilled food. We compared propane, charcoal and electric portable grills on cooking space, heat control and how annoying they are to carry.

    HannahRev is reader-supported. When you buy through our links we may earn a commission, at no extra cost to you. Our picks are based on published specifications, hands-on reviews from trusted testers and owner feedback.

    Our picks at a glance

    Product Best for Price Weight Fuel Cooking area
    Weber Traveler Best overall $449 49 lb Propane 390 sq in
    Cuisinart CGG-306 Chef’s Style Best value $225 22 lb Propane 275 sq in
    Cuisinart Grillster Best budget pick $150 10 lb Propane (1 lb) 148 sq in
    Ninja Woodfire Outdoor Grill & Smoker Best electric grill $350 31 lb Electric + wood pellets —
    Weber Q 1200 Best tabletop grill $279 31 lb Propane 189 sq in
    Weber Go-Anywhere Charcoal Best charcoal grill $90 14.9 lb Charcoal 140 sq in
    Weber Traveler

    1. Weber Traveler — Best overall

    A full-size grilling experience that collapses into a cart. It’s the best choice for tailgaters and families who drive to camp.

    Specs: Weight: 49 lb · Fuel: Propane · Cooking area: 390 sq in · List price: $449

    Pros:

    • Folds and rolls one-handed like a stroller
    • Porcelain-enameled cast-iron grates
    • Built-in lid thermometer

    Cons:

    • Heavy
    • Large footprint
    • Expensive
    Cuisinart CGG-306 Chef's Style

    2. Cuisinart CGG-306 Chef’s Style — Best value

    A lot of grill for the money. Dual burners make it easy to sear on one side and keep food warm on the other.

    Specs: Weight: 22 lb · Fuel: Propane · Cooking area: 275 sq in · Output: 20,000 BTU · List price: $225

    Pros:

    • Two burners for two-zone cooking
    • Big cooking surface
    • Stainless steel body

    Cons:

    • Wobbly legs
    • Grease tray can spill in transport
    Cuisinart Grillster

    3. Cuisinart Grillster — Best budget pick

    A compact grill that slips into a car trunk or a camp kitchen box. It’s best for burgers and dogs for two to four people.

    Specs: Weight: 10 lb · Fuel: Propane (1 lb) · Cooking area: 148 sq in · List price: $150

    Pros:

    • Very light
    • Gets hot fast for searing
    • Locking lid stores the fuel

    Cons:

    • Struggles at low temperatures
    • Small cooking area
    Ninja Woodfire Outdoor Grill & Smoker

    4. Ninja Woodfire Outdoor Grill & Smoker — Best electric grill

    An electric grill that adds real wood-smoke flavor. It’s ideal for balconies and RV sites with power hookups.

    Specs: Weight: 31 lb · Fuel: Electric + wood pellets · Cooking area: — · List price: $350

    Pros:

    • Grills, smokes and air-fries
    • Meat probe built in
    • Sealed hood resists wind

    Cons:

    • Heavy
    • Needs an outlet
    • Uses Ninja pellets
    Weber Q 1200

    5. Weber Q 1200 — Best tabletop grill

    A proven tabletop grill with excellent heat. It’s the classic choice for picnic tables and small patios.

    Specs: Weight: 31 lb · Fuel: Propane · Cooking area: 189 sq in · List price: $279

    Pros:

    • Cast-iron grates
    • Even heat from the U-shaped burner
    • Folding side tables

    Cons:

    • Heavy to carry
    • No lid latch
    • Runs hot on low
    Weber Go-Anywhere Charcoal

    6. Weber Go-Anywhere Charcoal — Best charcoal grill

    A tough little charcoal box that’s been around for decades for good reason. Cheap, durable and great for beach cookouts.

    Specs: Weight: 14.9 lb · Fuel: Charcoal · Cooking area: 140 sq in · List price: $90

    Pros:

    • Deep, rectangular coal bed
    • Light and sturdy
    • Low price

    Cons:

    • Hot vents need gloves
    • Manual temperature control
    • Small

    How to choose portable grills

    Fuel type

    Propane is the easiest: instant on, easy to control. Charcoal tastes great and is cheap, but takes longer and needs more care. Electric grills need an outlet but work where flames aren’t allowed.

    Cooking area

    About 150 sq in feeds two to three people. Around 250–400 sq in handles a family or a tailgate crowd.

    Weight and folding

    Under 15 lb is easy for one person to carry. Grills with folding legs or carts make heavier models manageable.

    Grates and burners

    Cast-iron grates hold heat and sear well. Two burners let you set up a hot and a cool zone.

    FAQ

    Can I use a portable grill on a balcony?

    Many buildings ban propane and charcoal. Check your lease and local fire code; an electric grill is often allowed.

    Do portable grills use small propane tanks?

    Most run on 1-lb cylinders and can use a 20-lb tank with an adapter hose.

  • The Best Men’s Fleece Jackets of 2026

    The Best Men’s Fleece Jackets of 2026

    Fleece is the workhorse layer: warm when it’s damp, breathable when you’re moving, and cheap to replace compared with down. We picked the best jackets for hiking, travel and everyday wear, from technical grid fleece to a $30 classic.

    HannahRev is reader-supported. When you buy through our links we may earn a commission, at no extra cost to you. Our picks are based on published specifications, hands-on reviews from trusted testers and owner feedback.

    Our picks at a glance

    Product Best for Price Weight Type Pockets Fabric
    Patagonia R1 Air Full-Zip Hoody Best overall $199 12.4 oz Midweight 3 100% recycled polyester
    Arc’teryx Kyanite Lightweight Hoody Best lightweight fleece $150 10.8 oz Lightweight 2 Polyester / nylon / elastane
    REI Co-op Trailmade Fleece Best budget everyday fleece $70 13.0 oz Midweight 4 Nylon body, spandex trim
    Rab Ascendor Light Hoody Most breathable $130 10.3 oz Lightweight 3 Polyester / elastane grid
    Mountain Hardwear Summit Grid Hoody Best pullover $99 10.9 oz Lightweight 1 kangaroo 100% polyester grid
    Amazon Essentials Full-Zip Polar Fleece Best value $29 15.7 oz Midweight 2 100% polyester
    Patagonia R1 Air Full-Zip Hoody

    1. Patagonia R1 Air Full-Zip Hoody — Best overall

    A modern take on a classic climber’s layer. The hollow-core fleece traps heat when you stop and dries fast when you sweat, so it works from spring hikes to ski days.

    Specs: Weight: 12.4 oz · Type: Midweight · Pockets: 3 · Fabric: 100% recycled polyester · List price: $199

    Pros:

    • Comfortable enough for all-day wear
    • Layers well year-round
    • Dries quickly

    Cons:

    • Can run warm on hard climbs
    • Face fabric pills over time
    Arc'teryx Kyanite Lightweight Hoody

    2. Arc’teryx Kyanite Lightweight Hoody — Best lightweight fleece

    A stretchy, smooth-faced fleece that looks sharp enough for town and travels well. It’s lighter than most hoodies with a similar warmth.

    Specs: Weight: 10.8 oz · Type: Lightweight · Pockets: 2 · Fabric: Polyester / nylon / elastane · List price: $150

    Pros:

    • Soft brushed interior
    • Four-way stretch
    • Packs small for travel

    Cons:

    • No chest pocket
    • Slim fit
    REI Co-op Trailmade Fleece

    3. REI Co-op Trailmade Fleece — Best budget everyday fleece

    An easy-to-wear fleece for campfires, errands and short walks. It’s not the most technical layer, but the price is right.

    Specs: Weight: 13.0 oz · Type: Midweight · Pockets: 4 · Fabric: Nylon body, spandex trim · List price: $70

    Pros:

    • Affordable
    • Soft and good-looking
    • Plenty of pockets

    Cons:

    • Not very breathable
    • Hard to layer over
    Rab Ascendor Light Hoody

    4. Rab Ascendor Light Hoody — Most breathable

    A grid fleece built for moving fast. Wear it as your active layer on cold mornings, and add a puffy when you stop.

    Specs: Weight: 10.3 oz · Type: Lightweight · Pockets: 3 · Fabric: Polyester / elastane grid · List price: $130

    Pros:

    • Dumps heat on fast climbs
    • Precise, athletic fit
    • Hood fits under a helmet

    Cons:

    • Not very warm on its own
    Mountain Hardwear Summit Grid Hoody

    5. Mountain Hardwear Summit Grid Hoody — Best pullover

    A cozy pullover hoodie with technical grid fleece inside. It’s a good fit for people who want one layer for both hiking and hanging out.

    Specs: Weight: 10.9 oz · Type: Lightweight · Pockets: 1 kangaroo · Fabric: 100% polyester grid · List price: $99

    Pros:

    • Very comfortable
    • Layers easily
    • Packable

    Cons:

    • Modest warmth
    • No zippered pockets
    Amazon Essentials Full-Zip Polar Fleece

    6. Amazon Essentials Full-Zip Polar Fleece — Best value

    The no-frills fleece everyone should own a spare of. It’s not technical, but for $30 it keeps you warm around camp and town.

    Specs: Weight: 15.7 oz · Type: Midweight · Pockets: 2 · Fabric: 100% polyester · List price: $29

    Pros:

    • Exceptional price
    • Soft against skin
    • Moves well

    Cons:

    • Bunches under layers
    • Doesn’t breathe much

    How to choose men’s fleece jackets

    Weight class

    Lightweight grid fleece (about 10 oz) is for active layering under a shell. Midweight fleece (12–16 oz) is warmer for camp and town.

    Breathability

    Grid and air-style fleeces vent heat on climbs. Smooth-faced or wind-resistant fabrics are warmer but get clammy when you work hard.

    Fit and hood

    A trim fit layers better under a rain jacket. A snug hood adds a lot of warmth for very little weight.

    Pockets

    Hand pockets plus a chest pocket are ideal for phones and snacks. Some technical pieces skip pockets to save weight.

    FAQ

    Is fleece warm enough on its own?

    Midweight fleece is fine down to the 40s °F on a calm day. Add a wind or rain shell when it’s breezy.

    Does fleece pill?

    Most fleeces pill a little over time. Washing inside out on cold and air drying slows it down.

  • The Best Camping Mattresses of 2026

    The Best Camping Mattresses of 2026

    Car camping is supposed to be the comfortable kind of camping, yet a thin pad can ruin the whole trip. A good camping mattress gives you thickness, warmth from the cold ground, and a surface you won’t slide off at 2 a.m. Here are our picks for solo sleepers, couples and people who sleep in their vehicles.

    HannahRev is reader-supported. When you buy through our links we may earn a commission, at no extra cost to you. Our picks are based on published specifications, hands-on reviews from trusted testers and owner feedback.

    Our picks at a glance

    Product Best for Price Weight Thickness R-value Size
    Therm-a-Rest MondoKing 3D Best overall $290 5.3 lb 4.3 in 7 80 × 30 in
    Lost Horizon Air & Foam 4.5" Single Best value $130 9 lb 4.5 in 13 80 × 29.5 in
    Exped MegaMat Duo Best for two people $450 9.7 lb 4 in 8.1 78 × 53 in
    Coleman Cozy Best packable budget pick $100 2.6 lb 3.5 in 3+ 74 × 24 in
    HomeMate CertiPUR-US Foam Cheapest comfortable option $67 9 lb 3 in N/A 75 × 30 in
    Exped MegaMat Auto Best for sleeping in your car $450 8.5 lb 4 in 8.1 76 × 52/36 in
    NEMO Roamer Double Lighter double option $400 6.6 lb 4 in 7 78 × 42 in
    Therm-a-Rest MondoKing 3D

    1. Therm-a-Rest MondoKing 3D — Best overall

    The closest thing to your bed at home that still fits in a car trunk. Vertical sidewalls mean the whole surface is usable, not just the middle.

    Specs: Weight: 5.3 lb · Thickness: 4.3 in · R-value: 7 · Size: 80 × 30 in · List price: $290

    Pros:

    • Four-plus inches of plush foam
    • Fast valves and an included pump sack
    • Warm enough for cold nights

    Cons:

    • Bulky once rolled
    • Couples need two
    Lost Horizon Air & Foam 4.5" Single

    2. Lost Horizon Air & Foam 4.5" Single — Best value

    A hybrid mattress with a very high R-value at a mid-range price. It’s heavy, but if the car carries it, you won’t care.

    Specs: Weight: 9 lb · Thickness: 4.5 in · R-value: 13 · Size: 80 × 29.5 in · List price: $130

    Pros:

    • Thick and very warm
    • Storage bag doubles as the pump
    • Comfortable balance of air and foam

    Cons:

    • Heavy
    • Hard to pack down
    Exped MegaMat Duo

    3. Exped MegaMat Duo — Best for two people

    One mattress for two adults, with no gap down the middle. It also earns its keep as a spare bed when family visits.

    Specs: Weight: 9.7 lb · Thickness: 4 in · R-value: 8.1 · Size: 78 × 53 in · List price: $450

    Pros:

    • Real double-bed width
    • Works as a guest bed at home
    • Firm, supportive structure

    Cons:

    • Very bulky
    • Expensive
    Coleman Cozy

    4. Coleman Cozy — Best packable budget pick

    A small, light inflatable that’s easy to toss in any vehicle. It’s best for warm-weather trips and smaller sleepers.

    Specs: Weight: 2.6 lb · Thickness: 3.5 in · R-value: 3+ · Size: 74 × 24 in · List price: $100

    Pros:

    • Light and compact
    • Raised edges keep you from rolling off

    Cons:

    • Narrow
    • Not very warm
    • Fabric picks up dirt
    HomeMate CertiPUR-US Foam

    5. HomeMate CertiPUR-US Foam — Cheapest comfortable option

    A plain foam topper you can throw in the back of the car. Comfy and cheap, but it’s a summer mattress.

    Specs: Weight: 9 lb · Thickness: 3 in · R-value: N/A · Size: 75 × 30 in · List price: $67

    Pros:

    • Soft memory-foam feel
    • No pumping, just unroll
    • Low price

    Cons:

    • Huge when packed
    • Little insulation from cold ground
    Exped MegaMat Auto

    6. Exped MegaMat Auto — Best for sleeping in your car

    Shaped for the back of an SUV or wagon. If car camping means sleeping inside the car, this is the one to beat.

    Specs: Weight: 8.5 lb · Thickness: 4 in · R-value: 8.1 · Size: 76 × 52/36 in · List price: $450

    Pros:

    • Tapered shape fits SUV cargo areas
    • Bridges gaps between folded seats
    • Quick to inflate and pack

    Cons:

    • Expensive
    • Less versatile outside a vehicle
    NEMO Roamer Double

    7. NEMO Roamer Double — Lighter double option

    A double mattress that won’t wreck your back carrying it from the car. It’s best for couples who don’t mind sleeping close.

    Specs: Weight: 6.6 lb · Thickness: 4 in · R-value: 7 · Size: 78 × 42 in · List price: $400

    Pros:

    • Soft brushed top
    • Lighter than most doubles
    • Deflates quickly

    Cons:

    • Fine-tuning firmness is fiddly
    • Snug for two adults

    How to choose camping mattresses

    Thickness

    Three to four inches of loft is where most side sleepers stop feeling the ground. Self-inflating foam mats feel the most like a real bed.

    R-value (warmth)

    R-value measures insulation from the ground. R 3 is fine for summer; aim for R 6 or higher for spring and fall nights.

    Air, foam or hybrid

    Air mattresses pack smaller and are lighter. Foam and self-inflating mats are quieter, warmer and less bouncy, but they take more room in the car.

    Size

    Measure your tent floor or cargo area before buying a double. Wide mats over 50 in may not fit smaller tents.

    FAQ

    What R-value do I need for camping?

    R 2–3 for warm summer nights, R 4–5 for three-season use, and R 6+ for cold shoulder seasons or winter.

    Can I use a camping mattress for backpacking?

    Usually not. Most weigh 3–10 lb. Backpacking pads weigh 1–2 lb but are thinner.

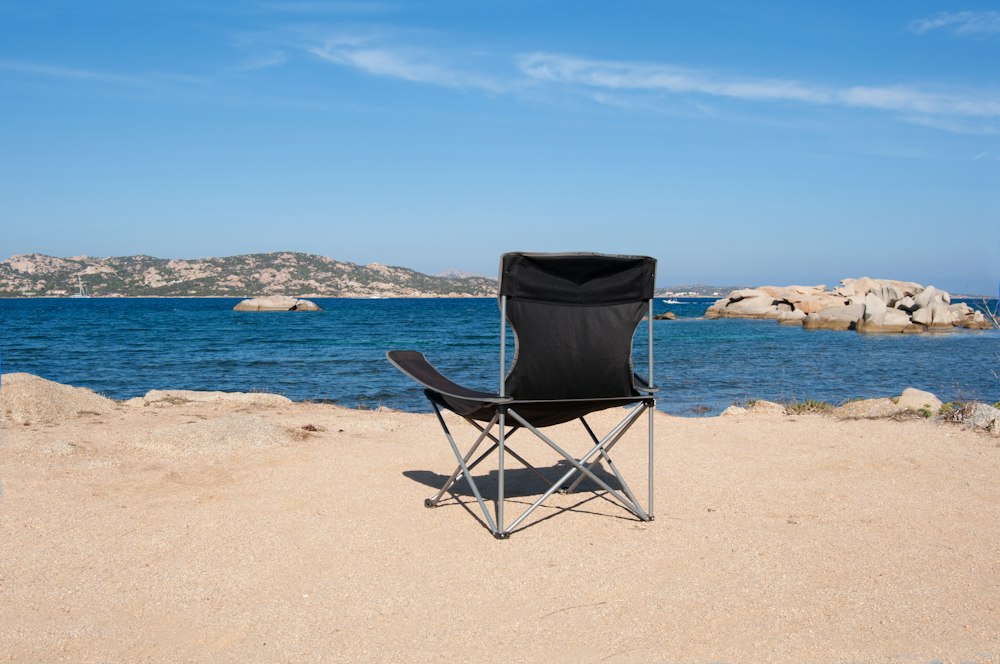
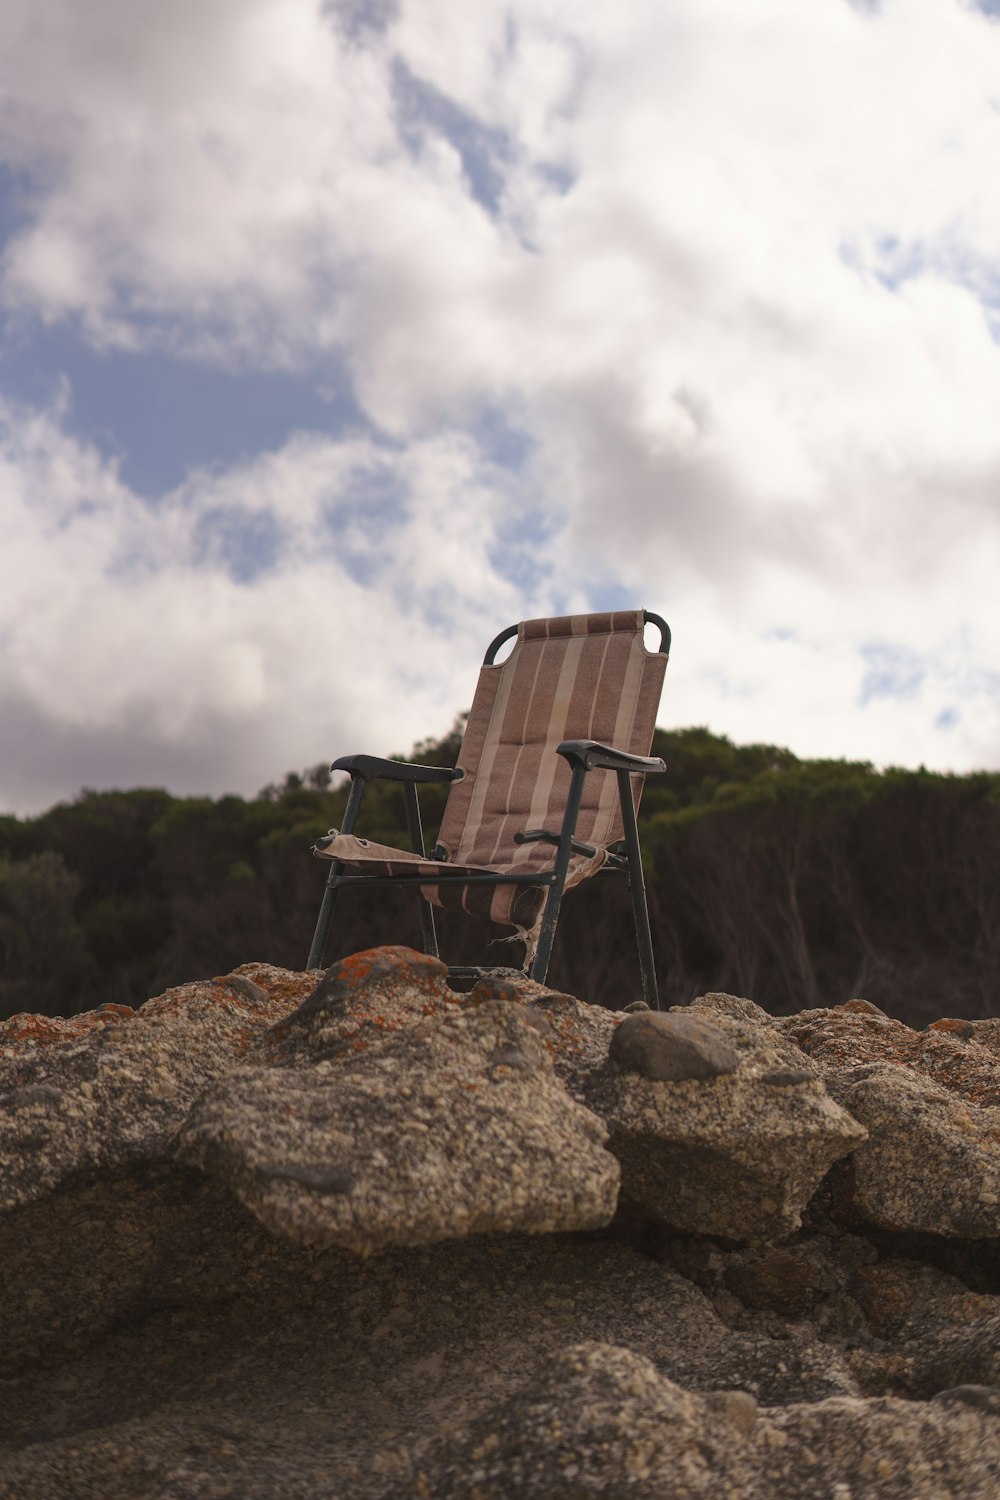
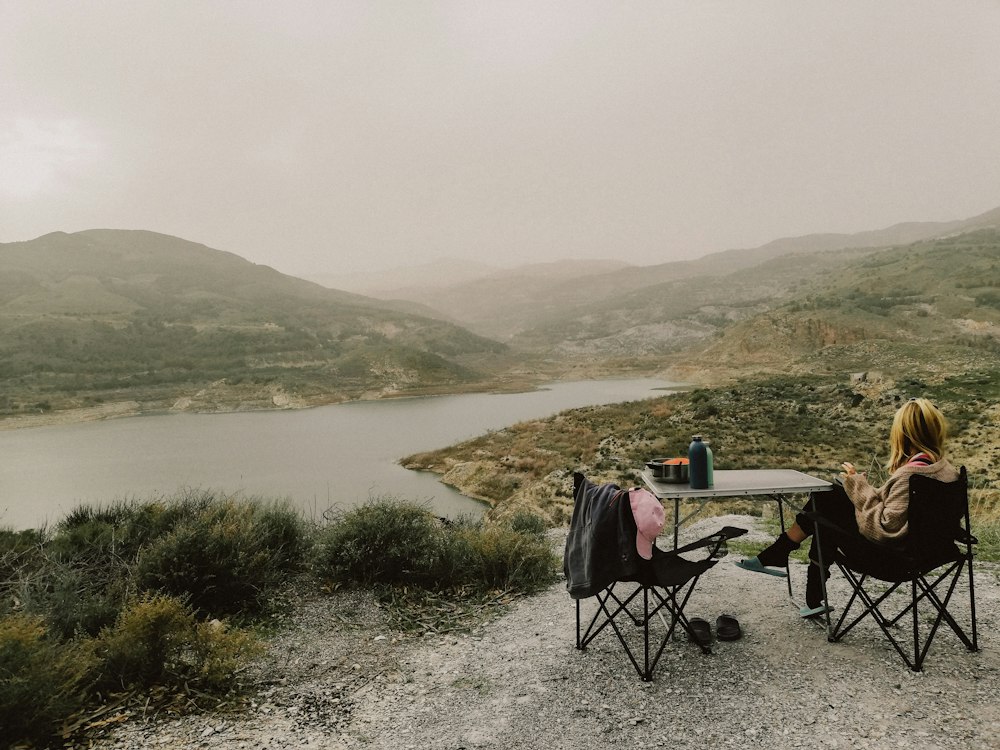
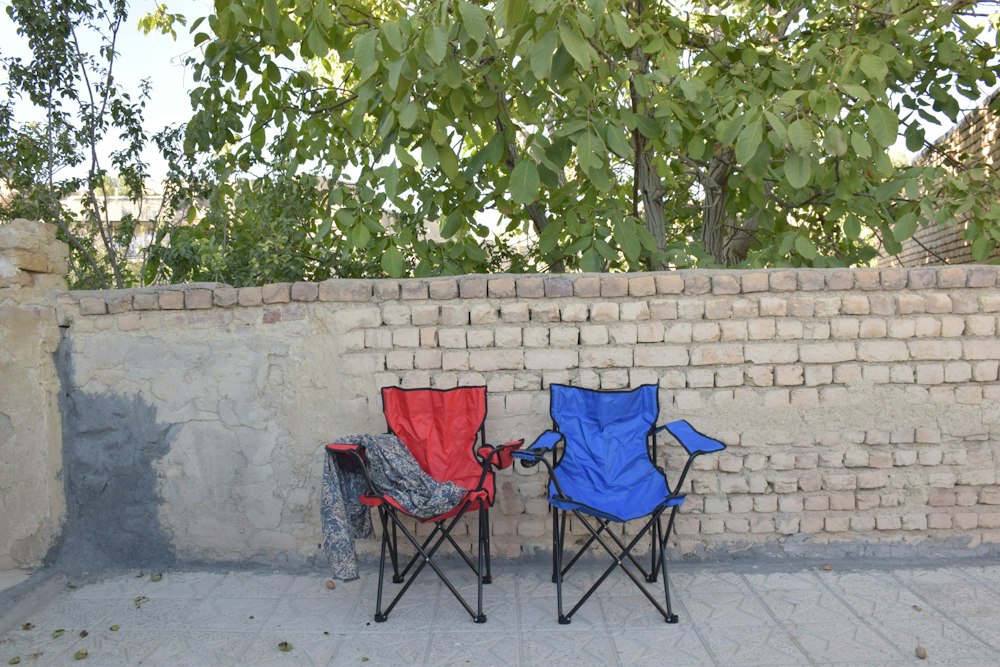
  • The Best Backpacking Chairs of 2026

    The Best Backpacking Chairs of 2026

    A camp chair is the one luxury most hikers stop apologizing for after the first night. The trick is matching seat height, weight and packed size to how far you actually carry it. These are our picks, from 2-ounce foam pads to tall, cushy loungers for car camping.

    HannahRev is reader-supported. When you buy through our links we may earn a commission, at no extra cost to you. Our picks are based on published specifications, hands-on reviews from trusted testers and owner feedback.

    Our picks at a glance

    Product Best for Price Weight Seat height Capacity Packed size
    Big Agnes Skyline UL Best overall $200 29.0 oz 10 in 275 lb 17 × 4 × 3.5 in
    Crazy Creek Hex 2.0 Best ground seat with a backrest $70 19.3 oz Ground level 250 lb 16 × 3 × 4 in
    Moon Lence Backpacking Chair Best budget chair $40 38.6 oz 8 in 400 lb 13 × 4.5 × 5.5 in
    Therm-a-Rest Z Seat Best for ultralight hikers $35 1.8 oz 0.5 in — 13 × 2.5 × 2.5 in
    Big Agnes Skyline UL Stool Best backpacking stool $150 19.0 oz 12 in 250 lb 12.5 × 3 × 3 in
    Big Agnes Big Six Most comfortable for car camping $250 51.0 oz 12 in 300 lb 21.5 × 5.5 × 5.5 in
    Helinox Chair Zero LT Lightest full chair $160 16.6 oz 10 in 265 lb 13.5 × 4 × 4 in
    NEMO Moonlite Elite Reclining Best reclining chair $190 21.6 oz 11 in 250 lb 13 × 4 × 4 in
    REI Co-op Flexlite Air Good value lightweight chair $100 16.9 oz 7.5 in 250 lb 14.3 × 4.5 × 4.5 in
    Big Agnes Skyline UL

    1. Big Agnes Skyline UL — Best overall

    The Skyline UL hits the sweet spot between comfort and carry weight. The seat sits you down into it rather than perched on top, and the wide stance keeps it from tipping when you reach for the stove.

    Specs: Weight: 29.0 oz · Seat height: 10 in · Capacity: 275 lb · Packed size: 17 × 4 × 3.5 in · List price: $200

    Pros:

    • Deep, bucket-style seat that cradles your back
    • Splayed legs feel planted on uneven ground
    • Generous 275 lb rating

    Cons:

    • Heavier than the ultralight crowd
    • A few extra steps to assemble
    Crazy Creek Hex 2.0

    2. Crazy Creek Hex 2.0 — Best ground seat with a backrest

    A clever folding seat with strap-tensioned back support. There are no poles to lose, which is why it has a loyal following among paddlers and long-distance hikers.

    Specs: Weight: 19.3 oz · Seat height: Ground level · Capacity: 250 lb · Packed size: 16 × 3 × 4 in · List price: $70

    Pros:

    • Unfolds and is ready in seconds
    • Tough, simple build with nothing to break
    • Doubles as a sit pad on the trail

    Cons:

    • You sit right on the ground
    • Not the lightest backrest option
    Moon Lence Backpacking Chair

    3. Moon Lence Backpacking Chair — Best budget chair

    If you mostly car camp or hike a mile to the lake, this is a lot of chair for the money. Just don’t plan on hauling it up a mountain.

    Specs: Weight: 38.6 oz · Seat height: 8 in · Capacity: 400 lb · Packed size: 13 × 4.5 × 5.5 in · List price: $40

    Pros:

    • Very low price
    • Handy side pockets
    • Square base is stable and rated to 400 lb

    Cons:

    • Too heavy for long trips
    • Fabric stiffens with use and is awkward to pack
    Therm-a-Rest Z Seat

    4. Therm-a-Rest Z Seat — Best for ultralight hikers

    A folded foam pad that keeps your backside dry and warm. It weighs less than a granola bar and it’s the seat most thru-hikers actually carry.

    Specs: Weight: 1.8 oz · Seat height: 0.5 in · Capacity: — · Packed size: 13 × 2.5 × 2.5 in · List price: $35

    Pros:

    • Practically weightless
    • Durable closed-cell foam
    • Zero setup, works as a kneeling pad too

    Cons:

    • No backrest
    • You’re sitting on the ground
    Big Agnes Skyline UL Stool

    5. Big Agnes Skyline UL Stool — Best backpacking stool

    A taller seat for people who mostly want to get off the ground while cooking or fishing. It packs small and feels more stable than most three-legged stools.

    Specs: Weight: 19.0 oz · Seat height: 12 in · Capacity: 250 lb · Packed size: 12.5 × 3 × 3 in · List price: $150

    Pros:

    • Wide, scooped seat
    • Surprisingly steady for a stool
    • Tall enough to stand up from easily

    Cons:

    • No backrest
    Big Agnes Big Six

    6. Big Agnes Big Six — Most comfortable for car camping

    This is the chair you bring when the car is parked fifty feet away. It’s too big for a backpack, but nothing on this list is more relaxing.

    Specs: Weight: 51.0 oz · Seat height: 12 in · Capacity: 300 lb · Packed size: 21.5 × 5.5 × 5.5 in · List price: $250

    Pros:

    • Tall back with a headrest
    • Roomy, deep seat
    • Feels like a living-room chair at camp

    Cons:

    • Expensive
    • Heavy and bulky
    • More involved setup
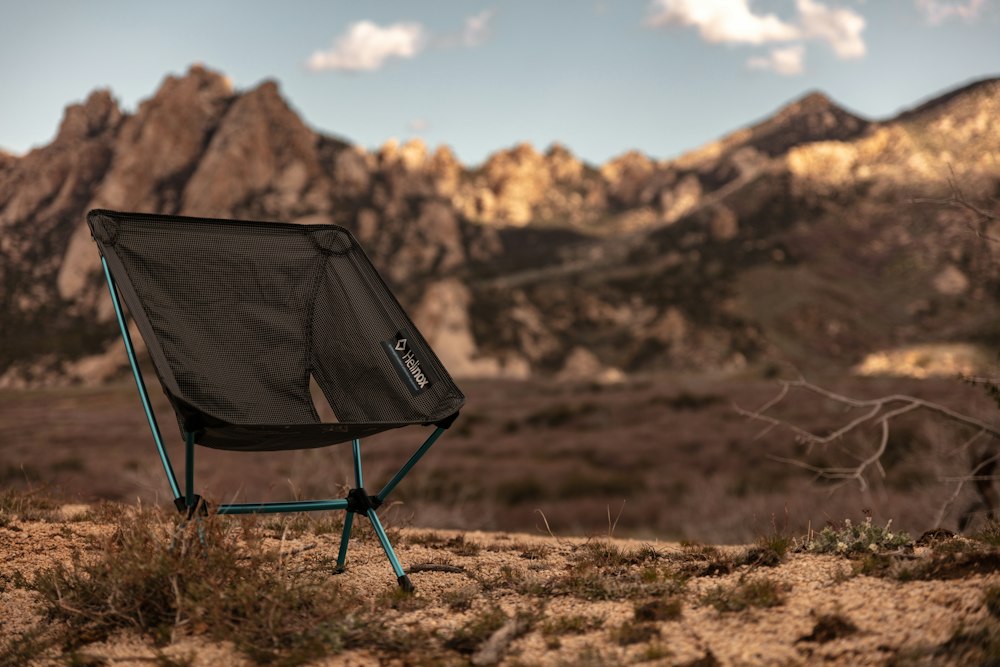
    Helinox Chair Zero LT

    7. Helinox Chair Zero LT — Lightest full chair

    The latest version of the chair that made ultralight seating mainstream. If you want a backrest without paying a big weight penalty, start here.

    Specs: Weight: 16.6 oz · Seat height: 10 in · Capacity: 265 lb · Packed size: 13.5 × 4 × 4 in · List price: $160

    Pros:

    • About a pound for a real chair
    • Packs about the size of a water bottle

    Cons:

    • Narrow feet can sink in soft ground
    NEMO Moonlite Elite Reclining

    8. NEMO Moonlite Elite Reclining — Best reclining chair

    A light chair with two back angles: sit up to eat, lean back to watch the stars. It’s one of the better compromises between weight and lounging.

    Specs: Weight: 21.6 oz · Seat height: 11 in · Capacity: 250 lb · Packed size: 13 × 4 × 4 in · List price: $190

    Pros:

    • Adjusts between upright and reclined
    • Packs small for the comfort

    Cons:

    • Pricey
    REI Co-op Flexlite Air

    9. REI Co-op Flexlite Air — Good value lightweight chair

    A budget-friendly take on the classic ultralight chair design. It weighs about the same as premium options for noticeably less money.

    Specs: Weight: 16.9 oz · Seat height: 7.5 in · Capacity: 250 lb · Packed size: 14.3 × 4.5 × 4.5 in · List price: $100

    Pros:

    • Light for the price
    • Simple hub-and-pole setup

    Cons:

    • Low seat

    How to choose backpacking chairs

    Weight vs. comfort

    Anything under about 20 oz is easy to justify on a backpacking trip. Chairs in the 30–50 oz range sit higher and support your back better, but they belong on short hikes, canoe trips and car camping.

    Seat height

    Ground-level seats (0–4 in) are the most stable and lightest. A 10–12 in seat is far easier to get in and out of, especially for taller people or anyone with stiff knees.

    Capacity and frame

    Check the rated capacity and look for a wide footprint or feet that spread the load. Narrow legs sink into sand and soft dirt.

    Packed size

    A chair that packs to roughly the size of a water bottle slides into a side pocket; longer packs usually have to ride inside your main compartment.
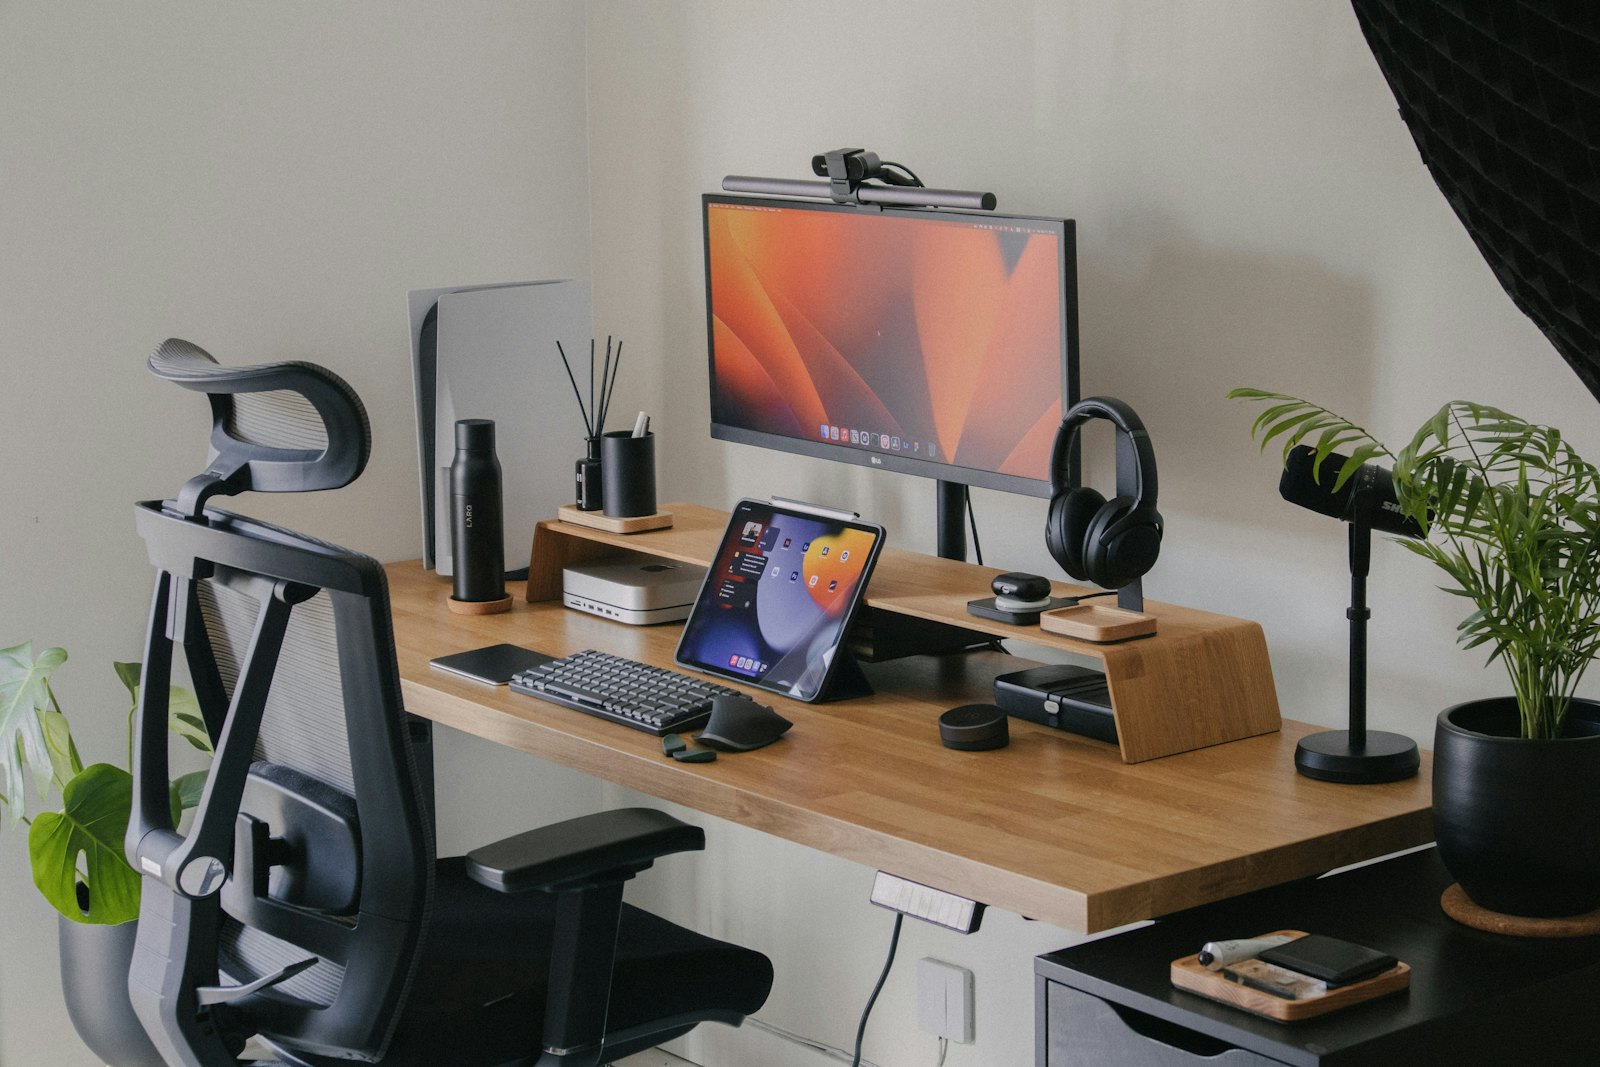
    FAQ

    Are backpacking chairs worth the weight?

    If you spend long evenings in camp, most people say yes. An ultralight option under 20 oz adds real comfort for the weight of a water bottle.

    Stool or chair?

    Stools are lighter and simpler, but you lose back support. If you like to lean back and read, get a chair with a backrest.

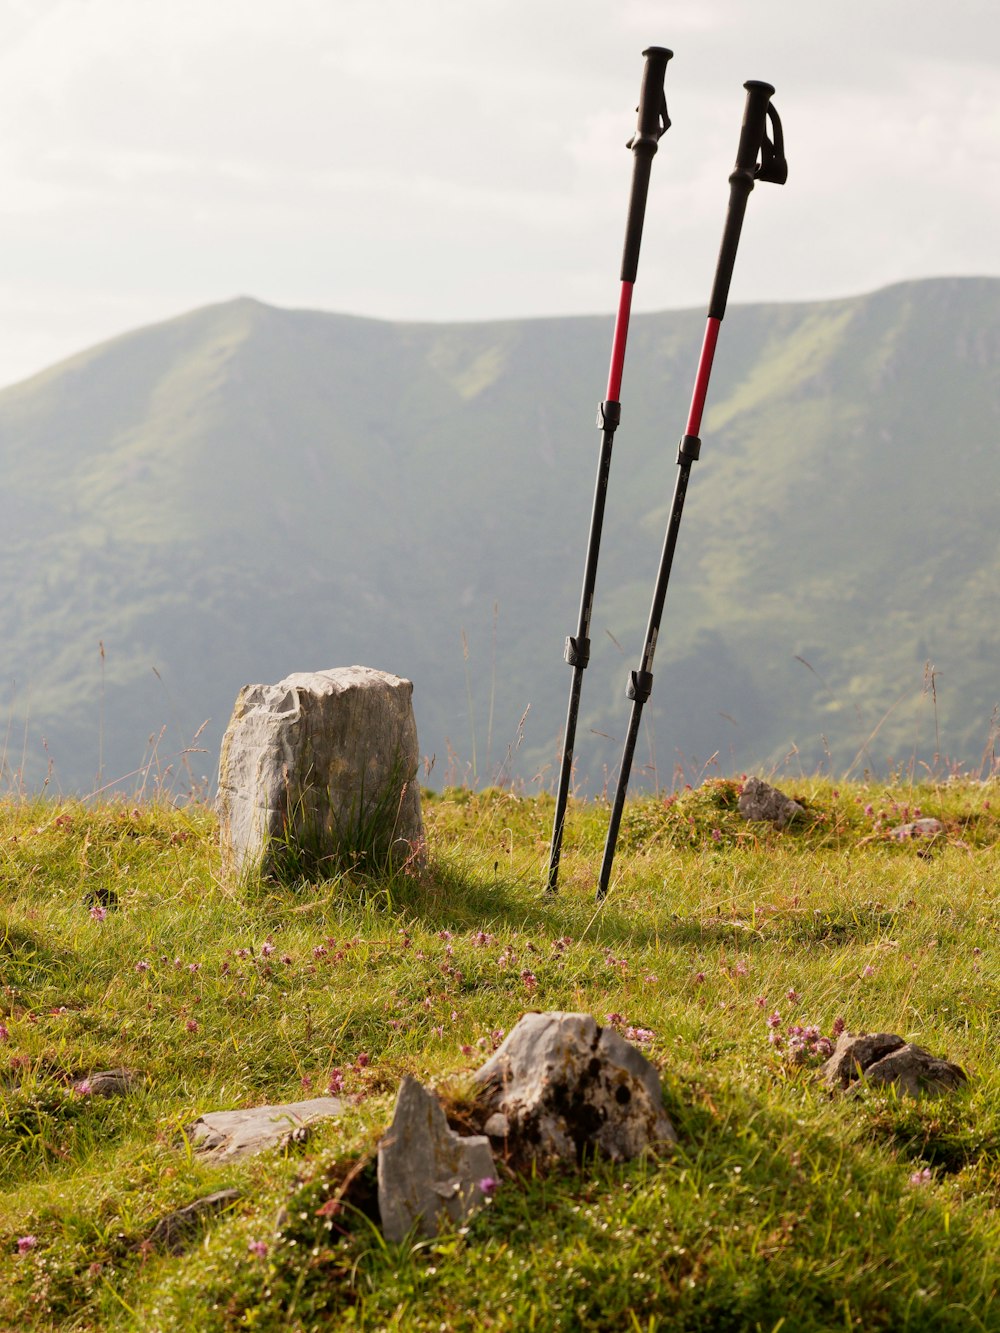
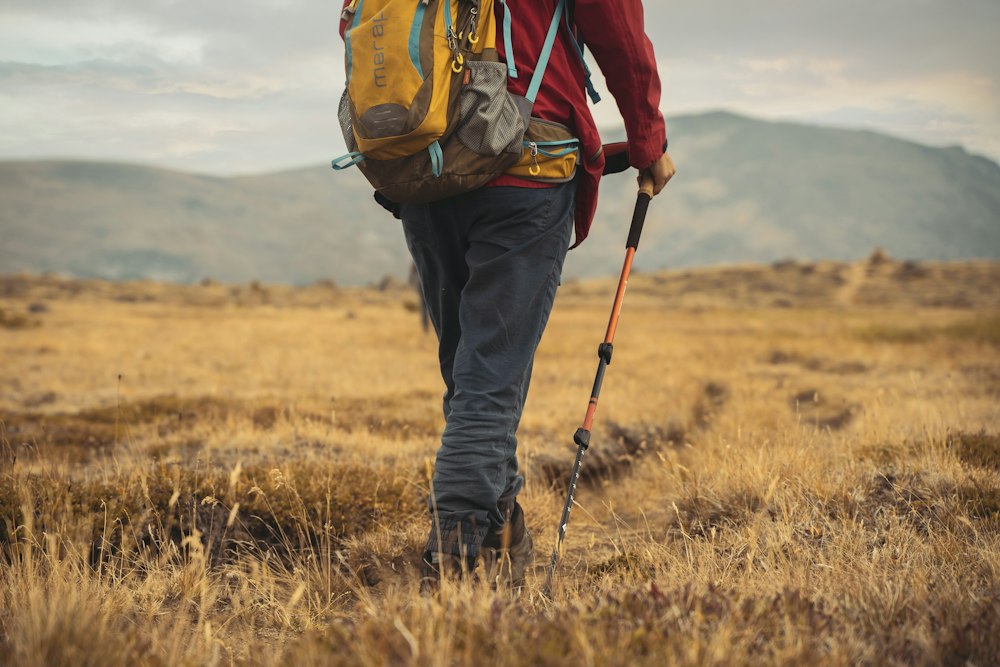
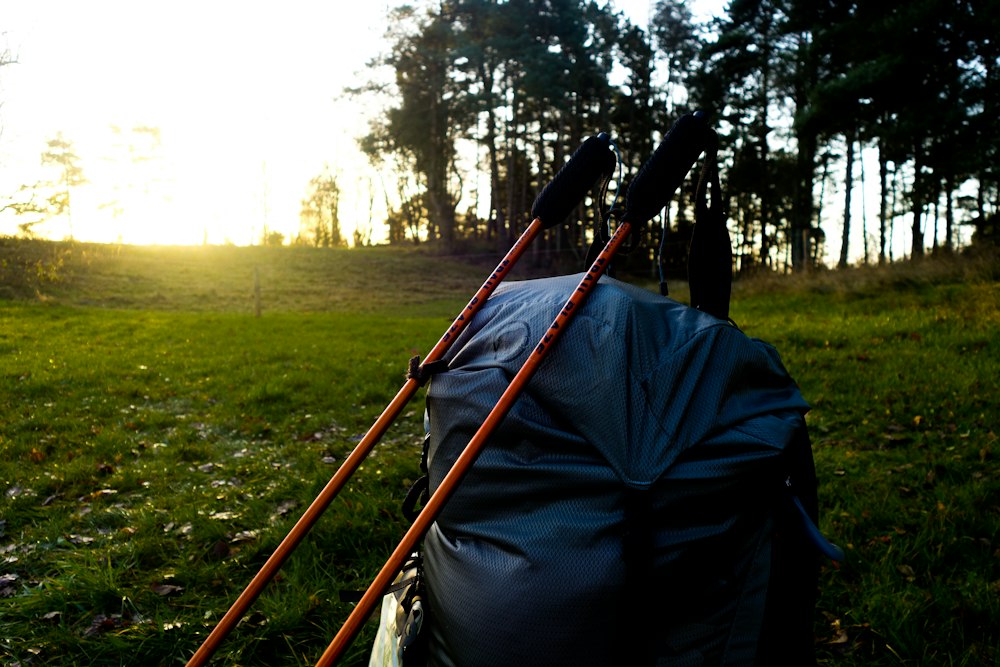
  • The Best Trekking Poles of 2026

    The Best Trekking Poles of 2026

    Poles save your knees on descents, help you balance across creeks and turn steep climbs into a four-wheel-drive affair. Here are our favorites for backpacking, trail running and hikers on a budget.

    HannahRev is reader-supported. When you buy through our links we may earn a commission, at no extra cost to you. Our picks are based on published specifications, hands-on reviews from trusted testers and owner feedback.

    Our picks at a glance

    Product Best for Price Weight (pair) Material Style Length
    MSR DynaLock Ascent Carbon Best overall $190 15.7 oz Carbon Folding + adjustable 14.5–47.5 in
    Black Diamond Trail Back Best value $100 18.3 oz Aluminum Telescoping 25–55.5 in
    Leki Cressida FX Carbon Best women’s pole $230 16.4 oz Carbon Folding + adjustable 16.5–47.8 in
    Black Diamond Distance Carbon Z Best for trail running $220 8.7 oz Carbon Fixed-length folding Fixed (sizes to 42.5 in)
    Trekology Trek-Z 2.0 Best budget pole $56 19.1 oz Aluminum Folding + adjustable 14.75–47.3 in
    MSR DynaLock Ascent Carbon

    1. MSR DynaLock Ascent Carbon — Best overall

    A folding pole with real length adjustment and a sturdy metal lock. It handles everything from day hikes to long trips.

    Specs: Weight (pair): 15.7 oz · Material: Carbon · Style: Folding + adjustable · Length: 14.5–47.5 in · List price: $190

    Pros:

    • Comfortable grips
    • Packs small
    • Light swing weight

    Cons:

    • Pricey
    • Not the lightest
    Black Diamond Trail Back

    2. Black Diamond Trail Back — Best value

    A simple, tough aluminum pole at a fair price. It’s a great first pair for backpackers who will lean hard on them.

    Specs: Weight (pair): 18.3 oz · Material: Aluminum · Style: Telescoping · Length: 25–55.5 in · List price: $100

    Pros:

    • Durable aluminum
    • Handles heavy packs
    • Wide length range

    Cons:

    • Heavy
    • Long when collapsed
    Leki Cressida FX Carbon

    3. Leki Cressida FX Carbon — Best women’s pole

    Designed around women’s hand sizes and heights. The cork grips are some of the most comfortable you’ll find.

    Specs: Weight (pair): 16.4 oz · Material: Carbon · Style: Folding + adjustable · Length: 16.5–47.8 in · List price: $230

    Pros:

    • Ergonomic cork grips sized for smaller hands
    • Versatile folding design
    • Premium finish

    Cons:

    • Expensive
    • Carbon is less forgiving than aluminum
    Black Diamond Distance Carbon Z

    4. Black Diamond Distance Carbon Z — Best for trail running

    Under 9 oz a pair. Runners and fastpackers love how quickly they snap together and stow away.

    Specs: Weight (pair): 8.7 oz · Material: Carbon · Style: Fixed-length folding · Length: Fixed (sizes to 42.5 in) · List price: $220

    Pros:

    • Extremely light
    • Folds tiny for running vests
    • Efficient push

    Cons:

    • No length adjustment
    • Thinner grips
    Trekology Trek-Z 2.0

    5. Trekology Trek-Z 2.0 — Best budget pole

    A folding aluminum pole that performs well above its price. It’s a smart pick for occasional hikers and travelers.

    Specs: Weight (pair): 19.1 oz · Material: Aluminum · Style: Folding + adjustable · Length: 14.75–47.3 in · List price: $56

    Pros:

    • Low price
    • Durable
    • Folds compact

    Cons:

    • Not ultralight
    • Limited adjustment

    How to choose trekking poles

    Folding vs. telescoping

    Folding (Z-style) poles pack shortest and suit runners and travelers. Telescoping poles adjust over a wider range and are generally tougher.

    Carbon vs. aluminum

    Carbon is lighter and damps vibration, but can snap if it’s bent hard. Aluminum bends before breaking, which makes it the safer choice for heavy loads.

    Locks

    Lever locks are easy to adjust with gloves on. Check that they can be tightened without tools.

    Grips

    Cork molds to your hand and handles sweat. Foam is lighter and softer. Extended grips let you choke down on steep traverses.

    FAQ

    How long should trekking poles be?

    With the tip on the ground, your elbow should bend about 90°. Shorten them for climbs and lengthen them for descents.

    One pole or two?

    Two poles give balanced support and are best for backpacking. One pole is fine for casual walks.

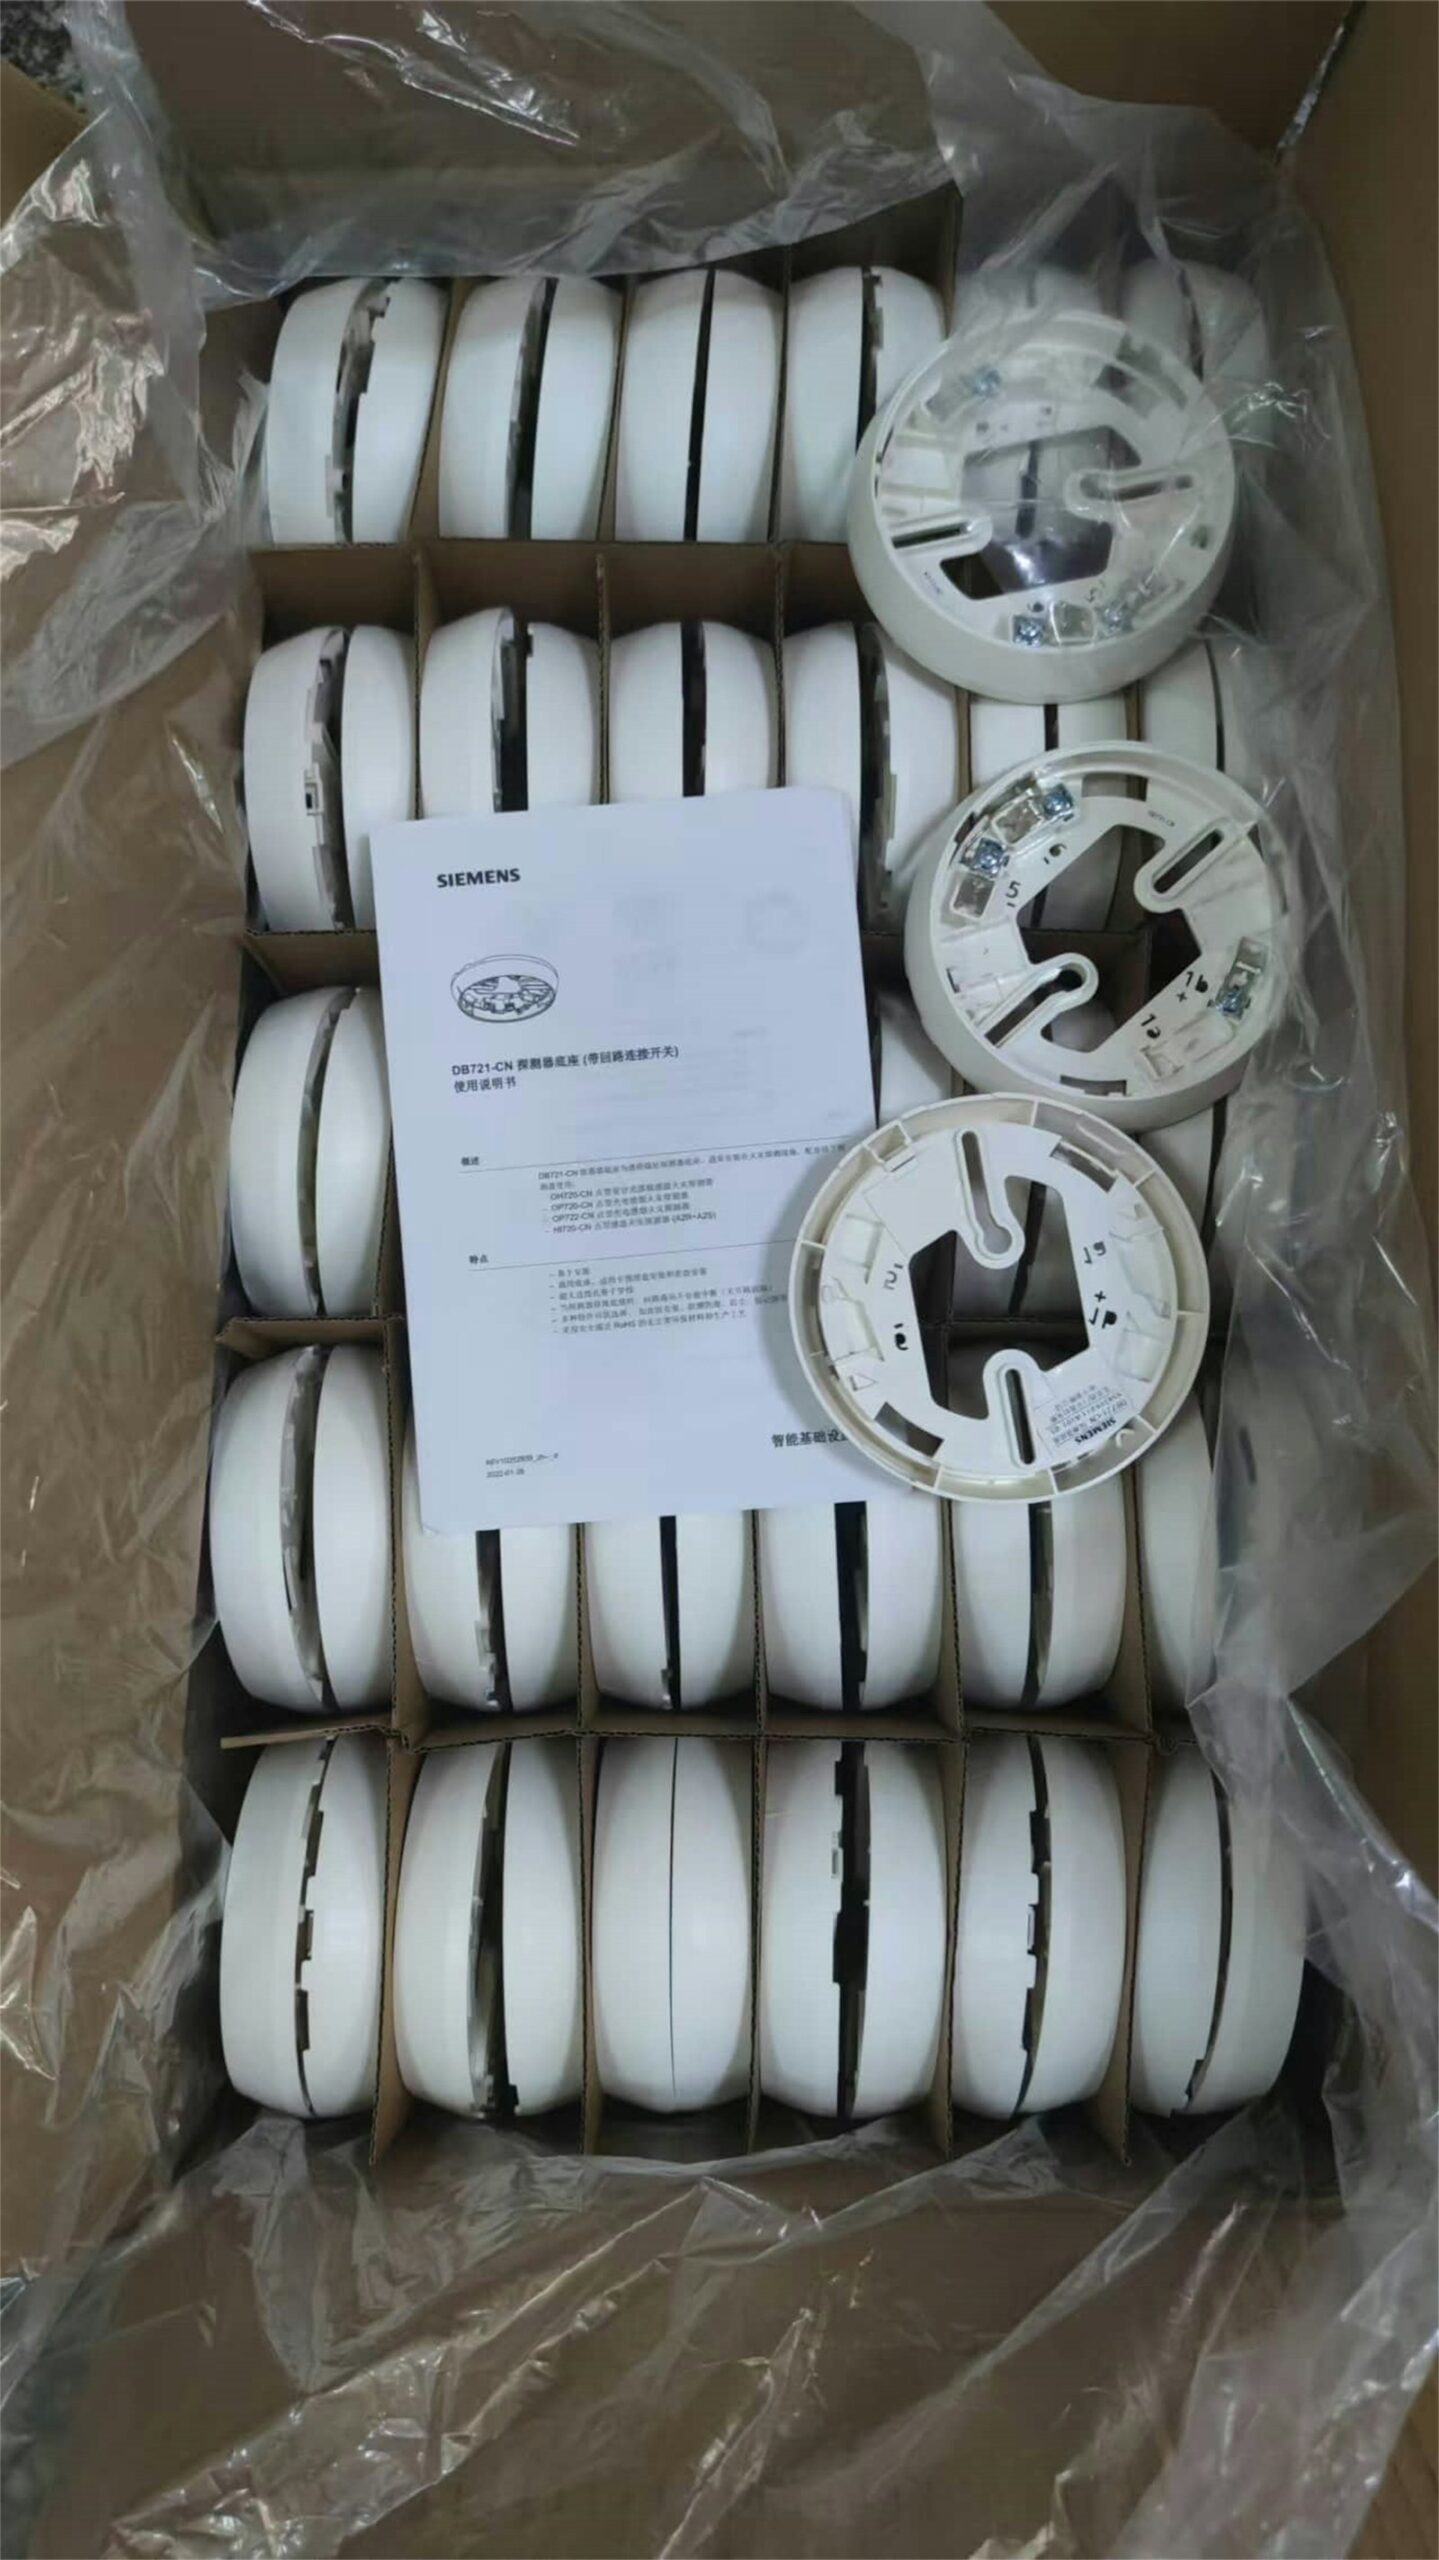
  • Smoke and Carbon Monoxide Alarms: Which to Buy and Where to Put Them

    Smoke and Carbon Monoxide Alarms: Which to Buy and Where to Put Them

    Key takeaways

    • Smoke alarms go inside every bedroom, outside each sleeping area and on every level, including the basement.
    • Get both ionization and photoelectric sensing, or dual-sensor alarms, and interconnect them if you can.
    • Test monthly and replace smoke alarms every 10 years. For CO, choose alarms that meet UL 2034.

    Where smoke alarms go

    • Inside each bedroom and outside every sleeping area.[1]
    • On every level of the home, including the basement.[1]
    • On the ceiling, or high on a wall following the manufacturer’s instructions; CPSC describes the center of the ceiling or 6 to 12 inches below it on a wall.[1,2]
    • Away from the stove: if cooking sets an alarm off, USFA suggests moving it several feet farther from the kitchen.[1]

    Ionization vs. photoelectric: why you want both

    Ionization alarms tend to respond faster to flaming fires, while photoelectric alarms tend to respond faster to smoldering fires. Because you cannot predict which kind of fire you will have, CPSC and the U.S. Fire Administration recommend having both types, or dual-sensor alarms that combine them.[1,2]

    Interconnected alarms sound together: smoke in the basement sets off the alarm outside the bedrooms too. That can buy precious escape time.[1,2]

    Carbon monoxide alarms

    Carbon monoxide has no color or smell. CPSC reports that more than 200 people in the U.S. die each year from CO produced by non-automotive consumer products.[3]

    • Install CO alarms on every level of the home and outside sleeping areas.[3]
    • Keep them away from heating vents and furniture. CPSC does not recommend placing them in the kitchen or directly above fuel-burning appliances. Follow the manufacturer’s placement instructions.[3]
    • Buy alarms that meet UL 2034, either battery-operated or plug-in with battery backup.[3]

    Upkeep that takes five minutes a month

    Monthly

    Press the test button on every alarm[1,4]

    Yearly

    Replace 9-volt or replaceable batteries[1,4]

    10 years

    Replace the whole smoke alarm[1,2]

    Alarm plan

    • Smoke alarm in every bedroom and outside each sleeping area
    • At least one smoke alarm and one CO alarm per level
    • Both sensing types, or dual-sensor alarms
    • Interconnected where possible
    • Test monthly; replace smoke alarms at 10 years

    Sources

    Every figure in this guide comes from the official sources below. We summarize them in our own words; check the source for the full guidance.

    1. 1Smoke AlarmsU.S. Fire Administration (FEMA)
    2. 2Smoke Alarms: Why, Where, and Which? (Publication 559)U.S. Consumer Product Safety Commission
    3. 3Carbon Monoxide Fact SheetU.S. Consumer Product Safety Commission
    4. 4CO AlarmsU.S. Consumer Product Safety Commission

    This guide is general consumer information, not medical, legal or professional advice. Always follow the manufacturer’s instructions for your product. See our editorial policy and affiliate disclosure.

    Photo: 茂清 熊 on Unsplash

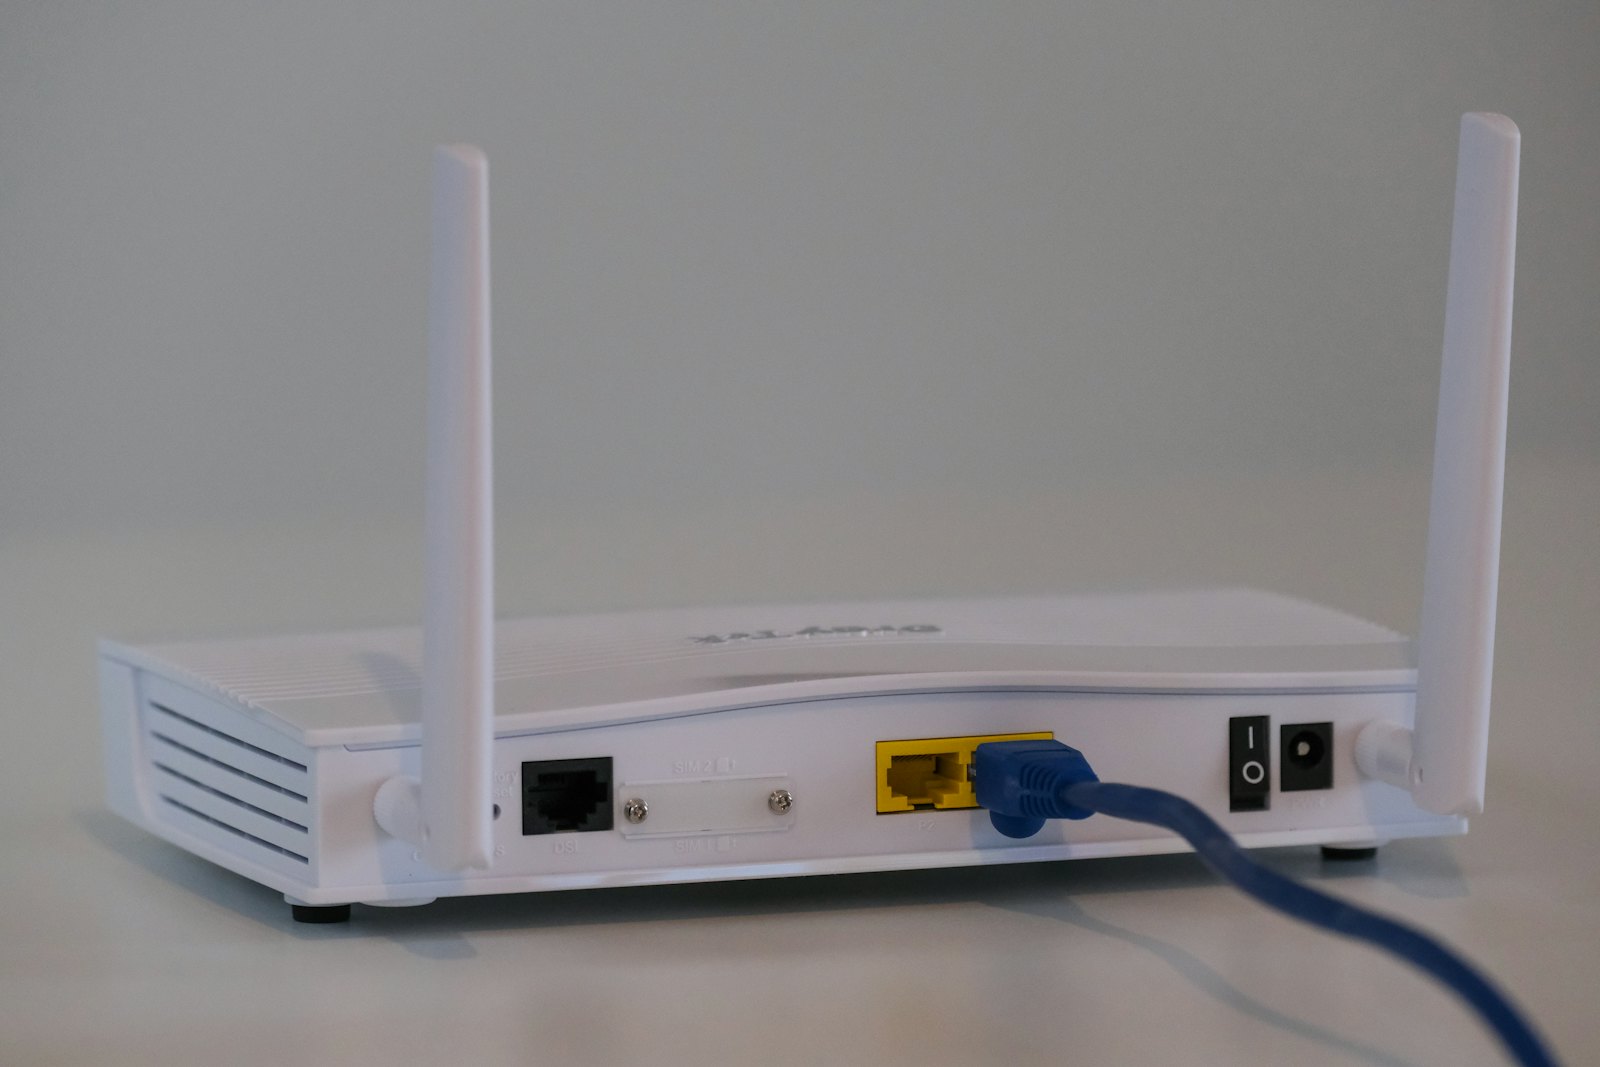
  • Home Wi-Fi Router Guide: Buying Smart and Locking It Down

    Home Wi-Fi Router Guide: Buying Smart and Locking It Down

    Key takeaways

    • Choose a router that supports WPA3 (or at least WPA2) and automatic firmware updates.
    • On day one: change the admin password, turn on the firewall, and turn off remote management, WPS and UPnP.
    • Use the FCC broadband label to compare plans on price, speeds and data limits.

    What to look for in a router

    • WPA3 Personal encryption support; WPA2 Personal is the minimum the FTC recommends.[1]
    • Automatic updates. CISA says products should have automatic updates turned on by default, and to ask the provider why if they don’t.[2]
    • A guest network feature, so visitors can stay off your main network.[1]
    • The option to run a separate network for devices like security cameras.[3]
    • A built-in firewall you can switch on.[1]

    The day-one settings

    1. 1Change the router’s default admin password to something unique, not your name, address or the router brand.[1]
    2. 2Set a separate, strong Wi-Fi password and choose WPA3 or WPA2 encryption.[1]
    3. 3Turn off remote management, WPS and UPnP, and turn on the firewall.[1]
    4. 4Register the router with the manufacturer or turn on automatic updates; check the maker’s site for firmware updates.[1,2]
    5. 5Log out of the admin page when you are done.[1]

    Cameras, speakers and other smart devices

    For home security cameras, the FTC suggests choosing models that encrypt account data, livestreams and stored video. Use a unique, complex password for each account, turn on two-factor authentication and keep the software updated. You can also put cameras on a separate network.[3]

    For voice assistants, the FTC recommends long passphrases (15+ characters), multi-factor authentication, auto-deleting recordings and a PIN for voice purchases. It also notes that a more secure router makes every connected device more secure.[4]

    Reading the broadband label

    Internet providers must show an FCC broadband label, modeled on a nutrition label, wherever a plan is sold, online and in stores. It lists the monthly price, any introductory rate, data allowances and typical speeds, with links to the provider’s network-management and privacy policies.[5]

    Router lock-down

    • WPA3 (or WPA2) encryption on
    • Unique admin password, separate Wi-Fi password
    • Firewall on; remote management, WPS and UPnP off
    • Automatic updates on
    • Guest network for visitors; separate network for cameras if you can

    Sources

    Every figure in this guide comes from the official sources below. We summarize them in our own words; check the source for the full guidance.

    1. 1How To Secure Your Home Wi-Fi NetworkFederal Trade Commission
    2. 2Update SoftwareCybersecurity and Infrastructure Security Agency
    3. 3How To Secure Your Home Security CamerasFederal Trade Commission
    4. 4How To Secure Your Voice Assistant and Protect Your PrivacyFederal Trade Commission
    5. 5Broadband Consumer LabelsFederal Communications Commission

    This guide is general consumer information, not medical, legal or professional advice. Always follow the manufacturer’s instructions for your product. See our editorial policy and affiliate disclosure.

    Photo: Compare Fibre on Unsplash

  • The Home Office Monitor Setup Guide: Height, Distance and Glare

    The Home Office Monitor Setup Guide: Height, Distance and Glare

    Key takeaways

    • Sit roughly an arm’s length away: OSHA’s preferred range is 20 to 40 inches from eye to screen.
    • Put the top of the screen at or slightly below eye level, and the monitor straight in front of you.
    • A monitor arm or height-adjustable stand usually improves comfort more than a bigger screen.

    Start with distance and height

    Most discomfort at a home desk comes from a screen that is too close, too low or off to one side. Before you shop, fix the geometry of the desk you already have. It costs nothing and tells you what you actually need.

    20–40 in

    Preferred eye-to-screen distance[1]

    15–20°

    Center of screen below horizontal eye level[1]

    ≤ 35°

    Maximum turn left or right of straight ahead[1]

    OSHA’s computer workstation guidance puts the preferred viewing distance at 20 to 40 inches, measured from your eyes to the front of the screen. The top line of text should sit at or slightly below eye level, so that the center of the screen lands about 15 to 20 degrees below your straight-ahead gaze.[1]

    Keep the monitor directly in front of you. OSHA advises against placing it more than 35 degrees to the left or right, because constant head turning adds up over a workday.[1]

    Tame glare before it tames you

    Tilt the screen so it is roughly perpendicular to your line of sight, usually no more than 10 to 20 degrees back. Tilting it further tends to catch ceiling lights, which is when people start squinting or leaning forward.[1]

    • Place the desk so windows are to your side rather than directly behind or in front of the screen.
    • If overhead light still reflects, OSHA notes that a glare screen may be needed.[1]
    • A matte (anti-glare) panel finish also cuts reflections in bright rooms.
    • Glossy panels look punchy in a dark room but show more reflections in a bright one; match the finish to your room.

    Desk and leg room

    OSHA notes that leg clearance under a desk should generally be 20 to 28 inches high. If your desk cannot be adjusted, the usual fix is to raise the chair and add a footrest; a height-adjustable desk solves both at once.[2]

    What to look for when you shop

    Monitor features that affect comfort
    Feature Why it matters Look for
    Height-adjustable stand Lets you hit the at-or-below-eye-level target Enough travel to reach your eye height, or VESA mount support
    Tilt and swivel Keeps the screen perpendicular to your gaze Tilt range that covers 10–20° back
    VESA mount holes Lets you add a monitor arm later 75×75 or 100×100 mm pattern
    Screen finish Controls reflections in bright rooms Matte for sunny rooms; glossy for dim rooms
    Size vs. distance Too big for your desk depth means turning your head Choose a size you can see without head turns at 20–40 in

    Resolution, refresh rate and HDR are worth comparing too, but they matter most once the basics above are right. A modest monitor at the correct height usually beats an expensive one perched on a stack of books.

    Two-minute desk check

    • Eyes 20–40 in from the screen
    • Top of screen at or just below eye level
    • Screen straight ahead, not off to the side
    • No ceiling-light reflections on the panel
    • Feet flat, thighs roughly level, 20–28 in of leg clearance

    Sources

    Every figure in this guide comes from the official sources below. We summarize them in our own words; check the source for the full guidance.

    1. 1Computer Workstations eTool: MonitorsOSHA, U.S. Department of Labor
    2. 2Computer Workstations eTool: DesksOSHA, U.S. Department of Labor

    This guide is general consumer information, not medical, legal or professional advice. Always follow the manufacturer’s instructions for your product. See our editorial policy and affiliate disclosure.

    Photo: Nubelson Fernandes on Unsplash

  • Food Thermometers and Fridge Thermometers: The Cheapest Kitchen Safety Upgrade

    Food Thermometers and Fridge Thermometers: The Cheapest Kitchen Safety Upgrade

    Key takeaways

    • Poultry 165°F; ground meats 160°F; whole cuts of beef, pork and lamb 145°F plus a 3-minute rest; fish 145°F.
    • Keep the refrigerator at 40°F or below and the freezer at 0°F, and check with an appliance thermometer.
    • Check a food thermometer in ice water: it should read 32°F.

    The temperatures to remember

    Safe minimum internal temperatures[1]
    Food Temperature
    Poultry (whole or ground) 165°F (74°C)
    Ground beef, pork and lamb 160°F (71°C)
    Beef, pork, lamb steaks, chops and roasts 145°F (63°C) + 3-minute rest
    Fish 145°F (63°C)
    Shellfish Cook until flesh is opaque, or until shells open
    Egg dishes (e.g., quiche) 160°F (71°C)
    Leftovers and casseroles 165°F (74°C)

    FoodSafety.gov’s advice is simple: always use a food thermometer to check that meat, poultry and egg dishes have reached a safe minimum internal temperature.[1]

    Is your fridge actually cold?

    The FDA recommends keeping the refrigerator at or below 40°F and the freezer at 0°F. Most refrigerator dials do not show the real temperature, so the FDA suggests inexpensive freestanding appliance thermometers in both compartments, checked regularly.[2]

    Check your thermometer in 30 seconds

    1. 1Fill a glass with crushed ice and add a little water.[3]
    2. 2Insert the stem about 2 inches and wait 30 seconds.[3]
    3. 3It should read 32°F. Dial thermometers can usually be adjusted with the calibration nut under the head; some digital models cannot be calibrated.[3]

    What to look for when you shop

    Thermometer types
    Type Best for Look for
    Instant-read digital Quick checks of steaks, burgers, chicken Thin probe tip; fast reading; readable display
    Leave-in probe Roasts, smokers, oven cooking Heat-safe cable; alarm at target temperature
    Dial (bimetal) Budget backup Calibration nut for adjustment
    Appliance thermometer Fridge and freezer Range that covers 0°F and 40°F clearly

    Kitchen temperature kit

    • One instant-read food thermometer
    • One appliance thermometer each for fridge and freezer
    • Fridge ≤ 40°F, freezer 0°F
    • Ice-water check reads 32°F
    • Poultry 165°F, ground meat 160°F, whole cuts 145°F + rest

    Sources

    Every figure in this guide comes from the official sources below. We summarize them in our own words; check the source for the full guidance.

    1. 1Safe Minimum Internal TemperaturesFoodSafety.gov (U.S. Department of Health and Human Services)
    2. 2Refrigerator Thermometers: Cold Facts about Food SafetyU.S. Food and Drug Administration
    3. 3Is Your Food Thermometer Accurate?Academy of Nutrition and Dietetics (EatRight.org)

    This guide is general consumer information, not medical, legal or professional advice. Always follow the manufacturer’s instructions for your product. See our editorial policy and affiliate disclosure.

    Photo: Robert Cwicinski on Unsplash