
Reader-supported: we may earn a commission when you buy through our links. Learn more

Category: Guides

  • Smoke and Carbon Monoxide Alarms: Which to Buy and Where to Put Them

    Smoke and Carbon Monoxide Alarms: Which to Buy and Where to Put Them

    Key takeaways

    • Smoke alarms go inside every bedroom, outside each sleeping area and on every level, including the basement.
    • Get both ionization and photoelectric sensing, or dual-sensor alarms, and interconnect them if you can.
    • Test monthly and replace smoke alarms every 10 years. For CO, choose alarms that meet UL 2034.

    Where smoke alarms go

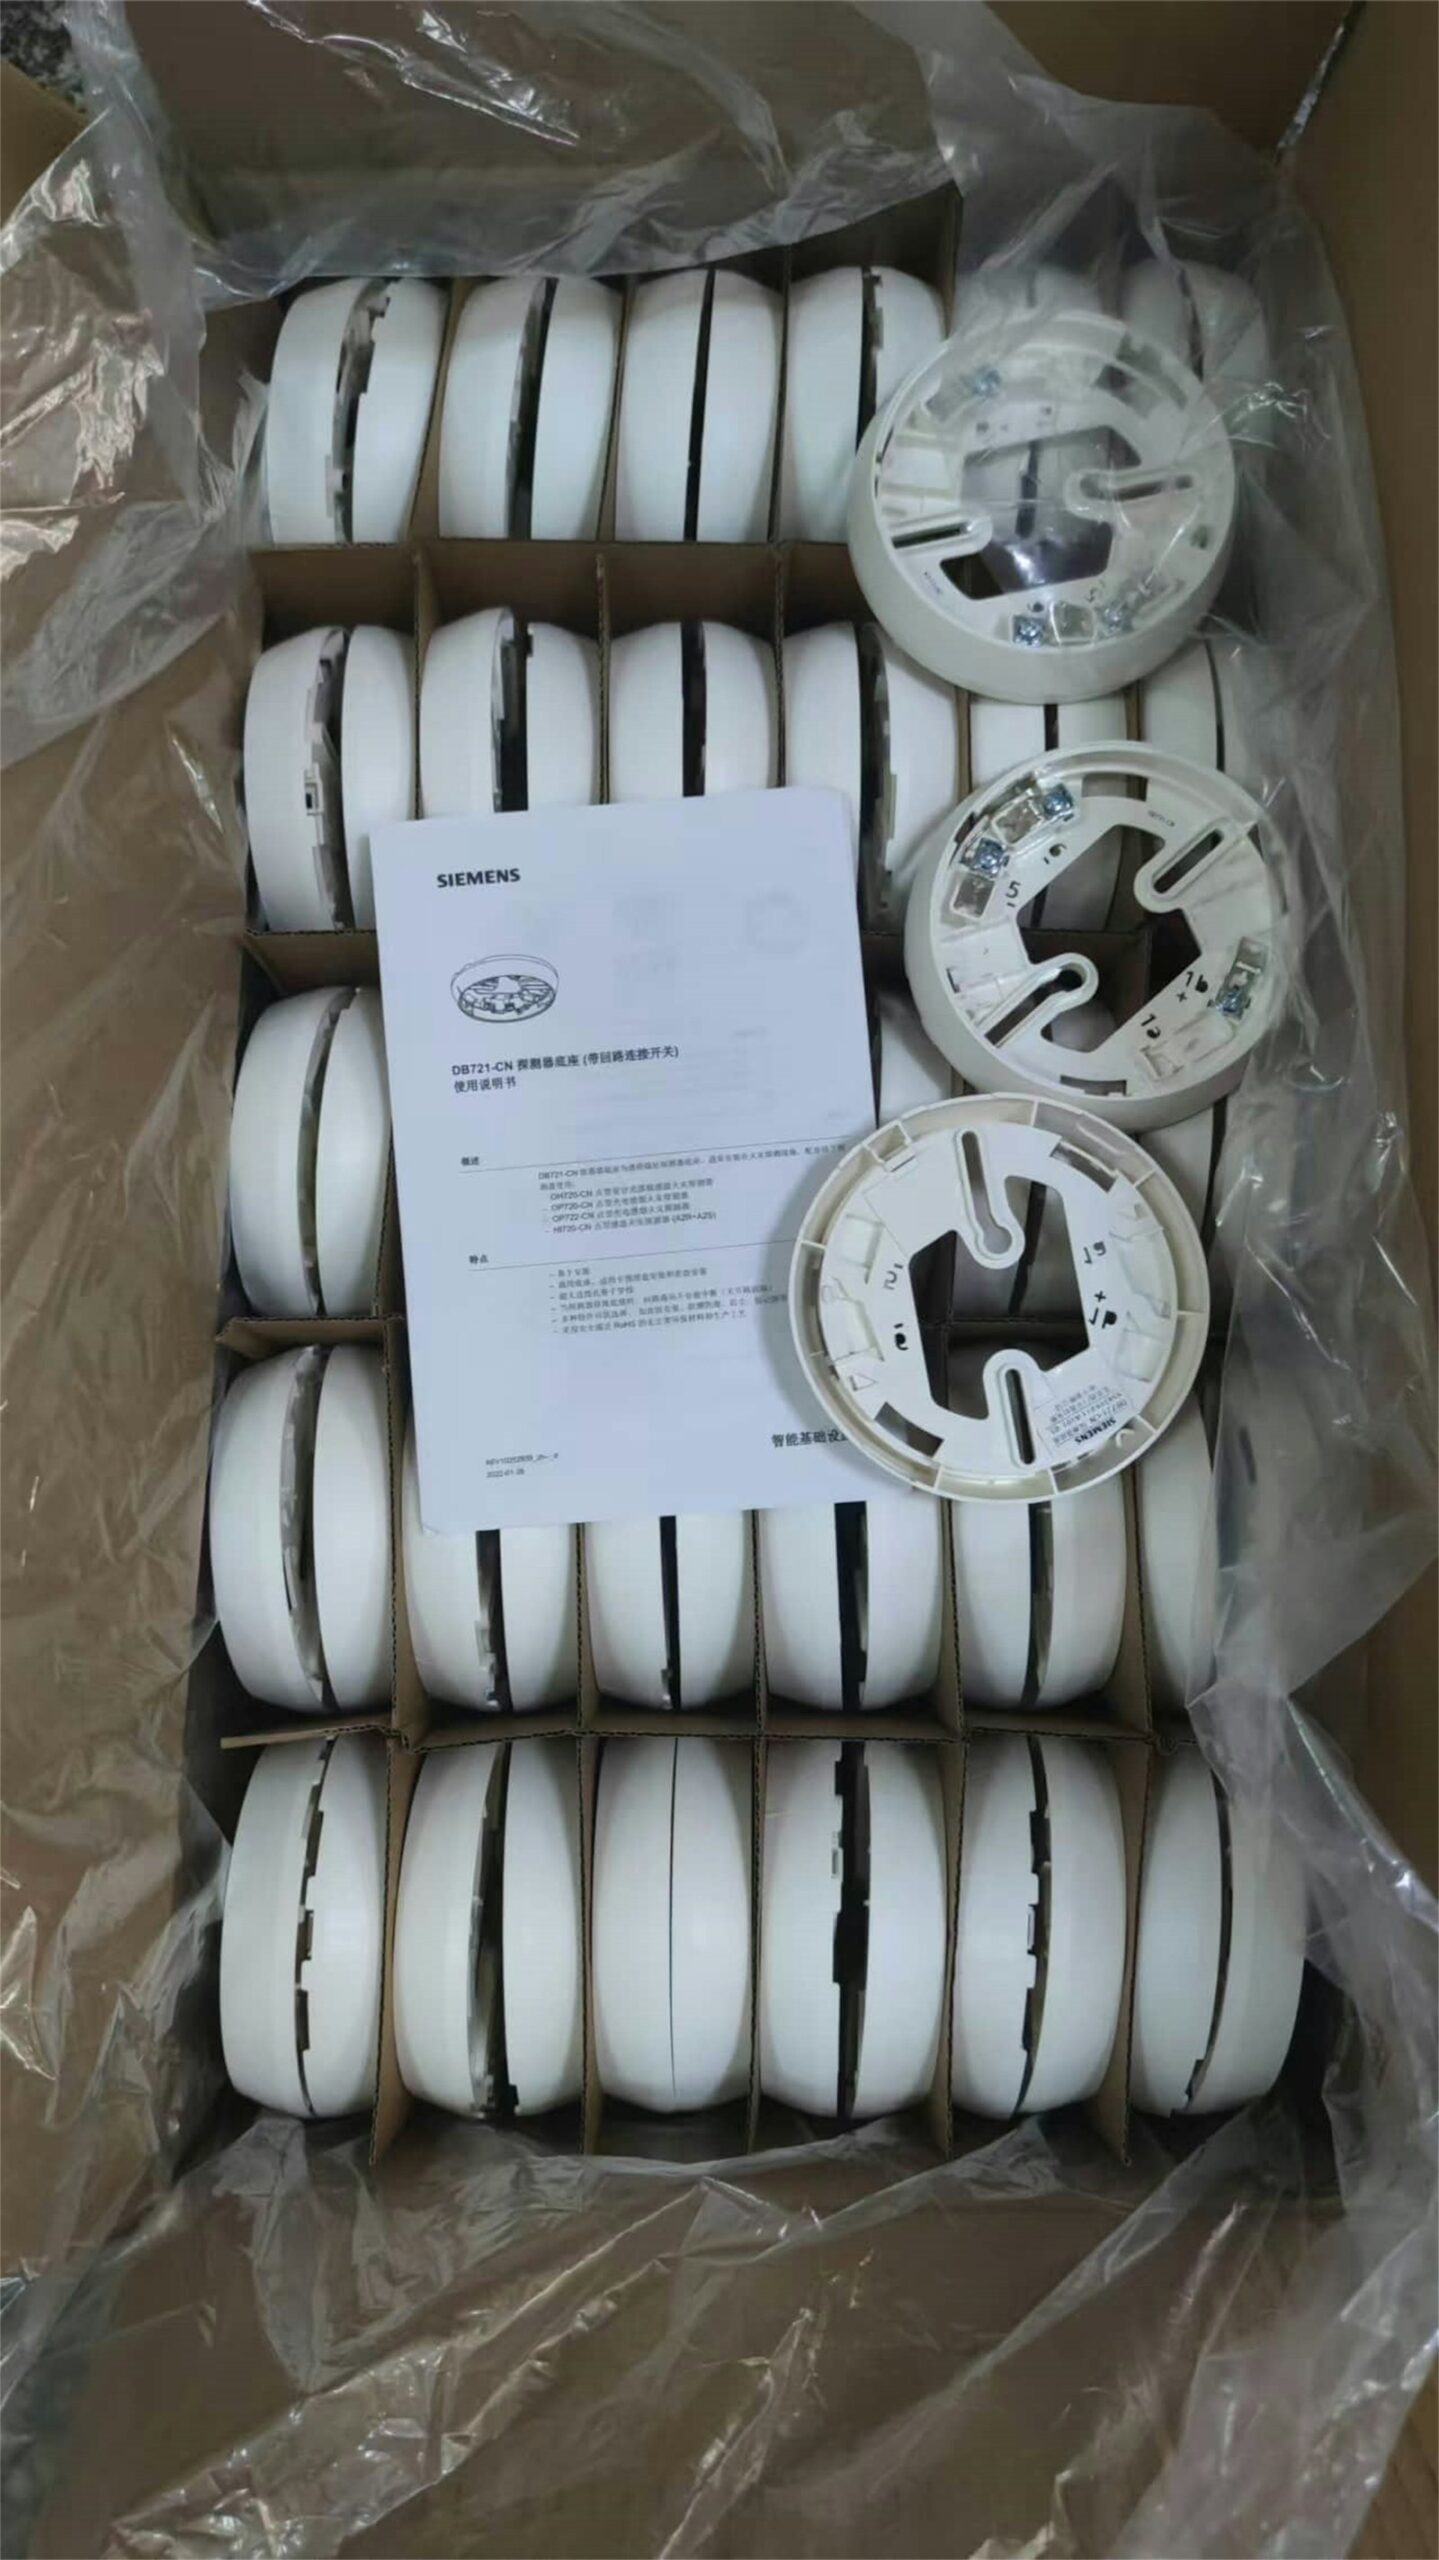
    • Inside each bedroom and outside every sleeping area.[1]
    • On every level of the home, including the basement.[1]
    • On the ceiling, or high on a wall following the manufacturer’s instructions; CPSC describes the center of the ceiling or 6 to 12 inches below it on a wall.[1,2]
    • Away from the stove: if cooking sets an alarm off, USFA suggests moving it several feet farther from the kitchen.[1]

    Ionization vs. photoelectric: why you want both

    Ionization alarms tend to respond faster to flaming fires, while photoelectric alarms tend to respond faster to smoldering fires. Because you cannot predict which kind of fire you will have, CPSC and the U.S. Fire Administration recommend having both types, or dual-sensor alarms that combine them.[1,2]

    Interconnected alarms sound together: smoke in the basement sets off the alarm outside the bedrooms too. That can buy precious escape time.[1,2]

    Carbon monoxide alarms

    Carbon monoxide has no color or smell. CPSC reports that more than 200 people in the U.S. die each year from CO produced by non-automotive consumer products.[3]

    • Install CO alarms on every level of the home and outside sleeping areas.[3]
    • Keep them away from heating vents and furniture. CPSC does not recommend placing them in the kitchen or directly above fuel-burning appliances. Follow the manufacturer’s placement instructions.[3]
    • Buy alarms that meet UL 2034, either battery-operated or plug-in with battery backup.[3]

    Upkeep that takes five minutes a month

    Monthly

    Press the test button on every alarm[1,4]

    Yearly

    Replace 9-volt or replaceable batteries[1,4]

    10 years

    Replace the whole smoke alarm[1,2]

    Alarm plan

    • Smoke alarm in every bedroom and outside each sleeping area
    • At least one smoke alarm and one CO alarm per level
    • Both sensing types, or dual-sensor alarms
    • Interconnected where possible
    • Test monthly; replace smoke alarms at 10 years

    Sources

    Every figure in this guide comes from the official sources below. We summarize them in our own words; check the source for the full guidance.

    1. 1Smoke AlarmsU.S. Fire Administration (FEMA)
    2. 2Smoke Alarms: Why, Where, and Which? (Publication 559)U.S. Consumer Product Safety Commission
    3. 3Carbon Monoxide Fact SheetU.S. Consumer Product Safety Commission
    4. 4CO AlarmsU.S. Consumer Product Safety Commission

    This guide is general consumer information, not medical, legal or professional advice. Always follow the manufacturer’s instructions for your product. See our editorial policy and affiliate disclosure.
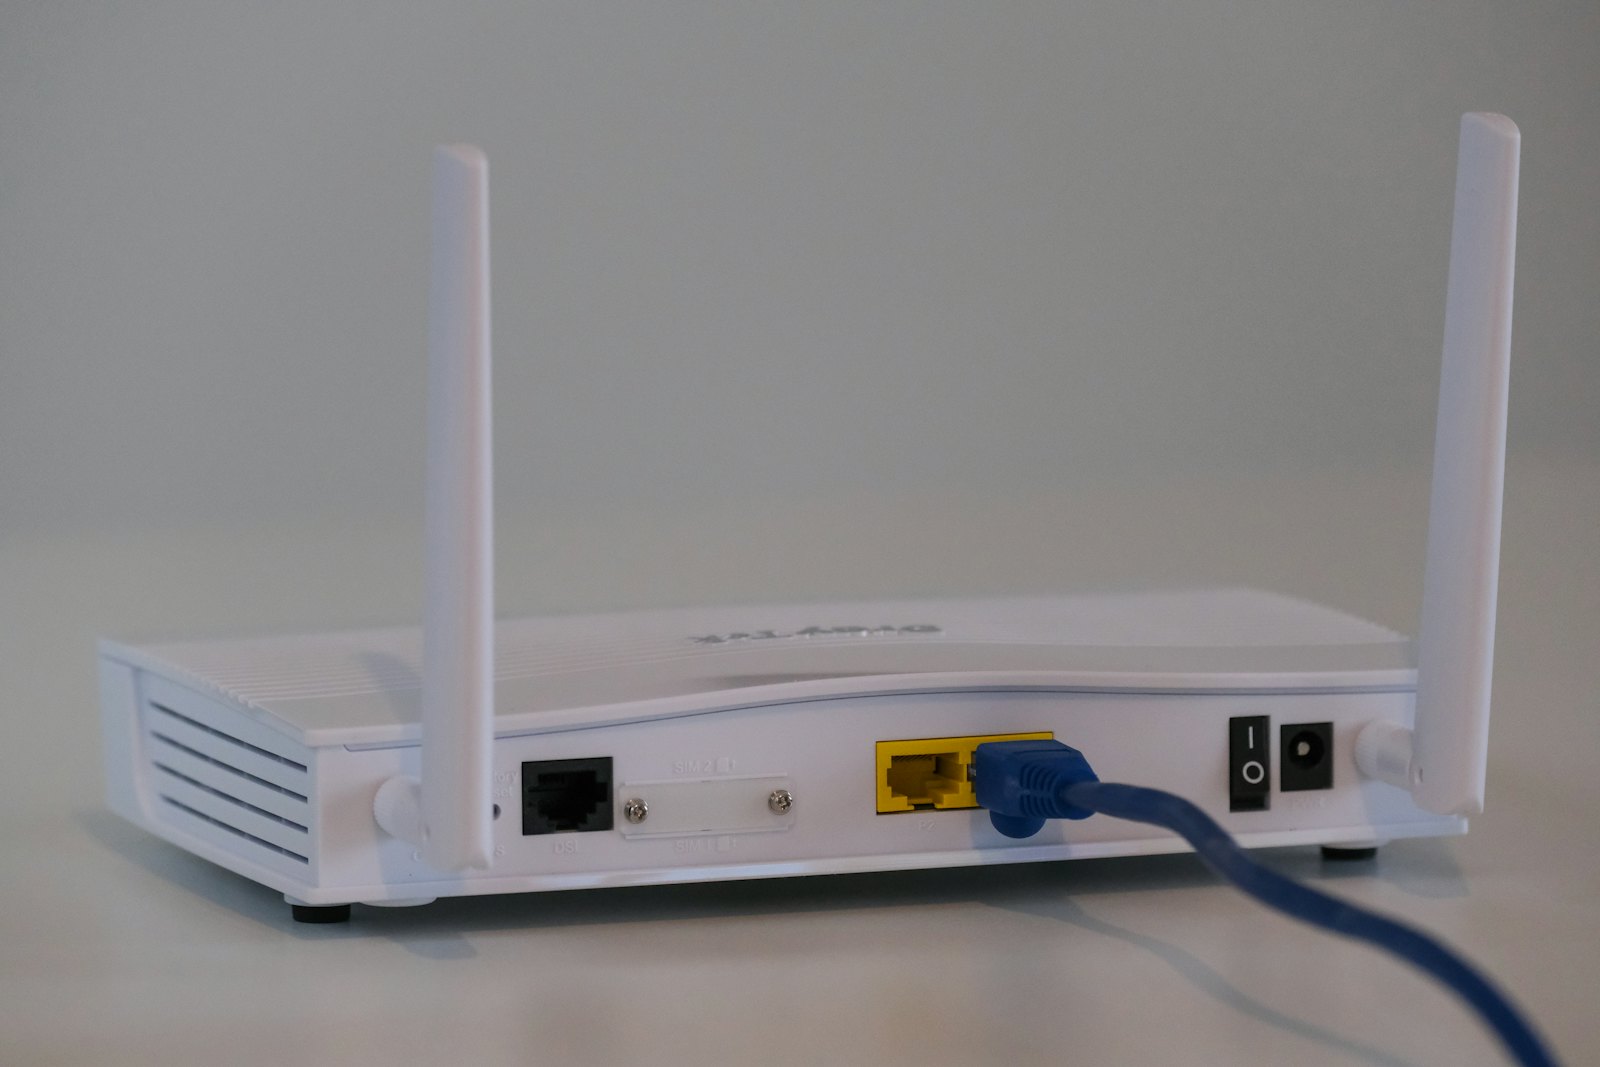
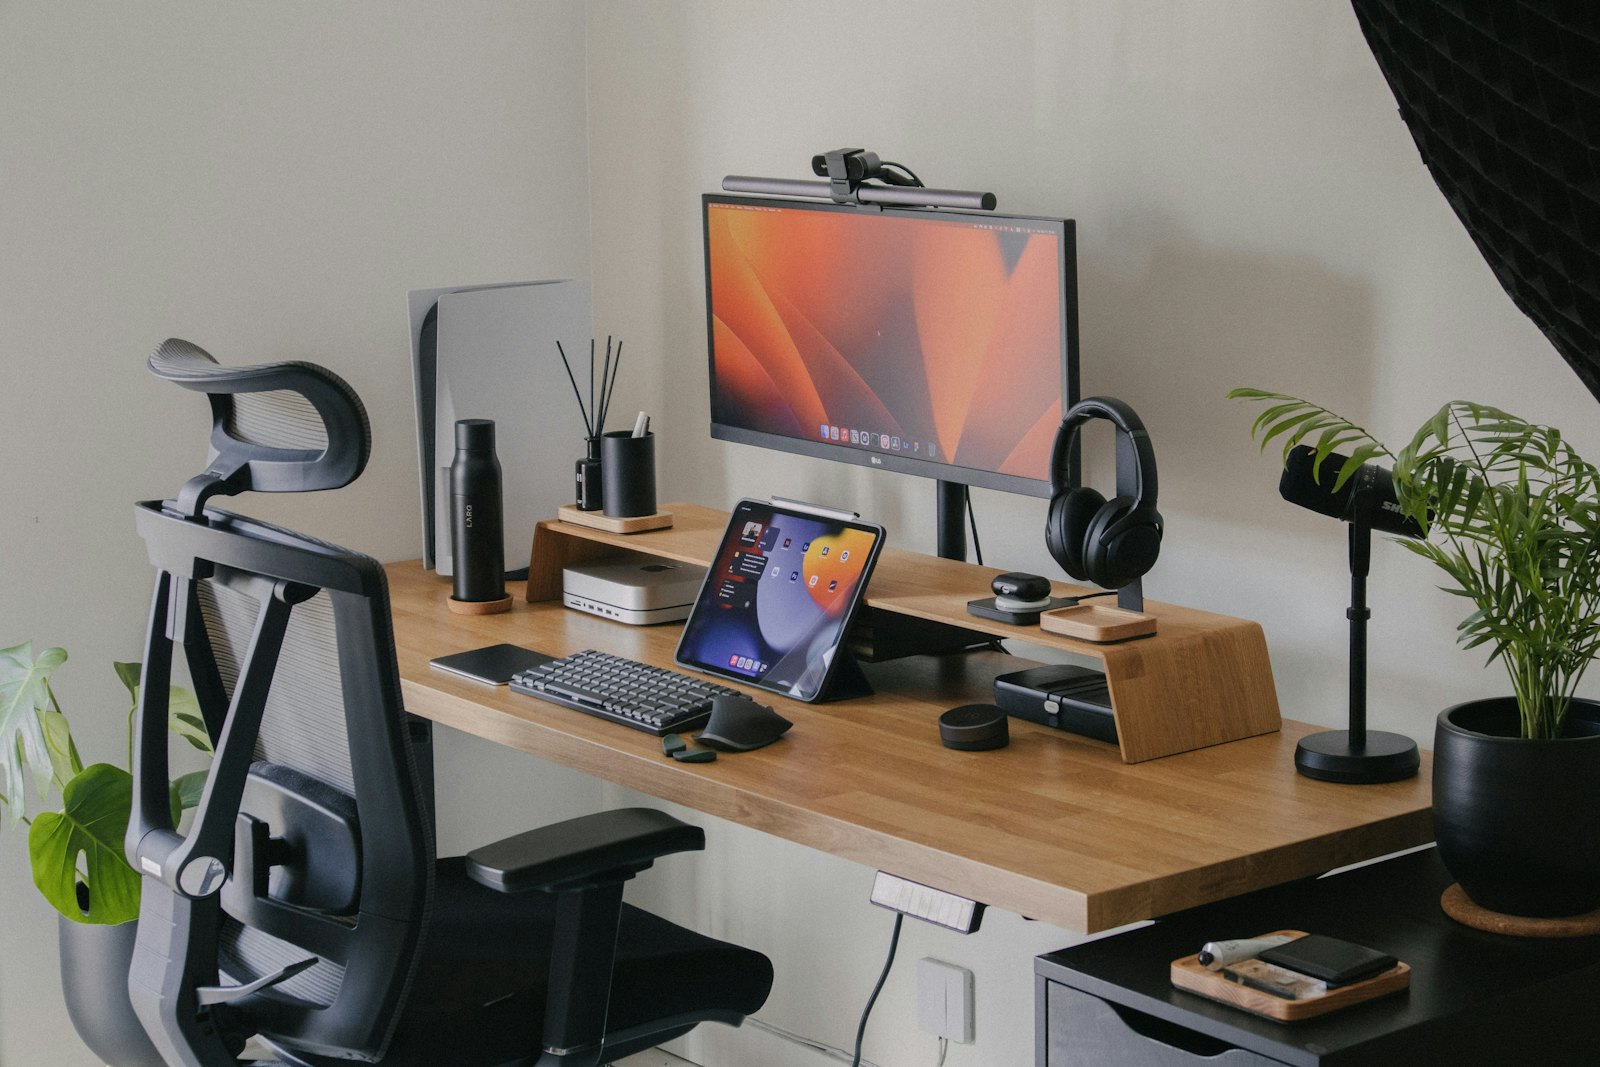
    Photo: 茂清 熊 on Unsplash

  • Home Wi-Fi Router Guide: Buying Smart and Locking It Down

    Home Wi-Fi Router Guide: Buying Smart and Locking It Down

    Key takeaways

    • Choose a router that supports WPA3 (or at least WPA2) and automatic firmware updates.
    • On day one: change the admin password, turn on the firewall, and turn off remote management, WPS and UPnP.
    • Use the FCC broadband label to compare plans on price, speeds and data limits.

    What to look for in a router

    • WPA3 Personal encryption support; WPA2 Personal is the minimum the FTC recommends.[1]
    • Automatic updates. CISA says products should have automatic updates turned on by default, and to ask the provider why if they don’t.[2]
    • A guest network feature, so visitors can stay off your main network.[1]
    • The option to run a separate network for devices like security cameras.[3]
    • A built-in firewall you can switch on.[1]

    The day-one settings

    1. 1Change the router’s default admin password to something unique, not your name, address or the router brand.[1]
    2. 2Set a separate, strong Wi-Fi password and choose WPA3 or WPA2 encryption.[1]
    3. 3Turn off remote management, WPS and UPnP, and turn on the firewall.[1]
    4. 4Register the router with the manufacturer or turn on automatic updates; check the maker’s site for firmware updates.[1,2]
    5. 5Log out of the admin page when you are done.[1]

    Cameras, speakers and other smart devices

    For home security cameras, the FTC suggests choosing models that encrypt account data, livestreams and stored video. Use a unique, complex password for each account, turn on two-factor authentication and keep the software updated. You can also put cameras on a separate network.[3]

    For voice assistants, the FTC recommends long passphrases (15+ characters), multi-factor authentication, auto-deleting recordings and a PIN for voice purchases. It also notes that a more secure router makes every connected device more secure.[4]

    Reading the broadband label

    Internet providers must show an FCC broadband label, modeled on a nutrition label, wherever a plan is sold, online and in stores. It lists the monthly price, any introductory rate, data allowances and typical speeds, with links to the provider’s network-management and privacy policies.[5]

    Router lock-down

    • WPA3 (or WPA2) encryption on
    • Unique admin password, separate Wi-Fi password
    • Firewall on; remote management, WPS and UPnP off
    • Automatic updates on
    • Guest network for visitors; separate network for cameras if you can

    Sources

    Every figure in this guide comes from the official sources below. We summarize them in our own words; check the source for the full guidance.

    1. 1How To Secure Your Home Wi-Fi NetworkFederal Trade Commission
    2. 2Update SoftwareCybersecurity and Infrastructure Security Agency
    3. 3How To Secure Your Home Security CamerasFederal Trade Commission
    4. 4How To Secure Your Voice Assistant and Protect Your PrivacyFederal Trade Commission
    5. 5Broadband Consumer LabelsFederal Communications Commission

    This guide is general consumer information, not medical, legal or professional advice. Always follow the manufacturer’s instructions for your product. See our editorial policy and affiliate disclosure.

    Photo: Compare Fibre on Unsplash

  • The Home Office Monitor Setup Guide: Height, Distance and Glare

    The Home Office Monitor Setup Guide: Height, Distance and Glare

    Key takeaways

    • Sit roughly an arm’s length away: OSHA’s preferred range is 20 to 40 inches from eye to screen.
    • Put the top of the screen at or slightly below eye level, and the monitor straight in front of you.
    • A monitor arm or height-adjustable stand usually improves comfort more than a bigger screen.

    Start with distance and height

    Most discomfort at a home desk comes from a screen that is too close, too low or off to one side. Before you shop, fix the geometry of the desk you already have. It costs nothing and tells you what you actually need.

    20–40 in

    Preferred eye-to-screen distance[1]

    15–20°

    Center of screen below horizontal eye level[1]

    ≤ 35°

    Maximum turn left or right of straight ahead[1]

    OSHA’s computer workstation guidance puts the preferred viewing distance at 20 to 40 inches, measured from your eyes to the front of the screen. The top line of text should sit at or slightly below eye level, so that the center of the screen lands about 15 to 20 degrees below your straight-ahead gaze.[1]

    Keep the monitor directly in front of you. OSHA advises against placing it more than 35 degrees to the left or right, because constant head turning adds up over a workday.[1]

    Tame glare before it tames you

    Tilt the screen so it is roughly perpendicular to your line of sight, usually no more than 10 to 20 degrees back. Tilting it further tends to catch ceiling lights, which is when people start squinting or leaning forward.[1]

    • Place the desk so windows are to your side rather than directly behind or in front of the screen.
    • If overhead light still reflects, OSHA notes that a glare screen may be needed.[1]
    • A matte (anti-glare) panel finish also cuts reflections in bright rooms.
    • Glossy panels look punchy in a dark room but show more reflections in a bright one; match the finish to your room.

    Desk and leg room

    OSHA notes that leg clearance under a desk should generally be 20 to 28 inches high. If your desk cannot be adjusted, the usual fix is to raise the chair and add a footrest; a height-adjustable desk solves both at once.[2]

    What to look for when you shop

    Monitor features that affect comfort
    Feature Why it matters Look for
    Height-adjustable stand Lets you hit the at-or-below-eye-level target Enough travel to reach your eye height, or VESA mount support
    Tilt and swivel Keeps the screen perpendicular to your gaze Tilt range that covers 10–20° back
    VESA mount holes Lets you add a monitor arm later 75×75 or 100×100 mm pattern
    Screen finish Controls reflections in bright rooms Matte for sunny rooms; glossy for dim rooms
    Size vs. distance Too big for your desk depth means turning your head Choose a size you can see without head turns at 20–40 in

    Resolution, refresh rate and HDR are worth comparing too, but they matter most once the basics above are right. A modest monitor at the correct height usually beats an expensive one perched on a stack of books.

    Two-minute desk check

    • Eyes 20–40 in from the screen
    • Top of screen at or just below eye level
    • Screen straight ahead, not off to the side
    • No ceiling-light reflections on the panel
    • Feet flat, thighs roughly level, 20–28 in of leg clearance

    Sources

    Every figure in this guide comes from the official sources below. We summarize them in our own words; check the source for the full guidance.

    1. 1Computer Workstations eTool: MonitorsOSHA, U.S. Department of Labor
    2. 2Computer Workstations eTool: DesksOSHA, U.S. Department of Labor

    This guide is general consumer information, not medical, legal or professional advice. Always follow the manufacturer’s instructions for your product. See our editorial policy and affiliate disclosure.

    Photo: Nubelson Fernandes on Unsplash

  • Food Thermometers and Fridge Thermometers: The Cheapest Kitchen Safety Upgrade

    Food Thermometers and Fridge Thermometers: The Cheapest Kitchen Safety Upgrade

    Key takeaways

    • Poultry 165°F; ground meats 160°F; whole cuts of beef, pork and lamb 145°F plus a 3-minute rest; fish 145°F.
    • Keep the refrigerator at 40°F or below and the freezer at 0°F, and check with an appliance thermometer.
    • Check a food thermometer in ice water: it should read 32°F.

    The temperatures to remember

    Safe minimum internal temperatures[1]
    Food Temperature
    Poultry (whole or ground) 165°F (74°C)
    Ground beef, pork and lamb 160°F (71°C)
    Beef, pork, lamb steaks, chops and roasts 145°F (63°C) + 3-minute rest
    Fish 145°F (63°C)
    Shellfish Cook until flesh is opaque, or until shells open
    Egg dishes (e.g., quiche) 160°F (71°C)
    Leftovers and casseroles 165°F (74°C)

    FoodSafety.gov’s advice is simple: always use a food thermometer to check that meat, poultry and egg dishes have reached a safe minimum internal temperature.[1]

    Is your fridge actually cold?

    The FDA recommends keeping the refrigerator at or below 40°F and the freezer at 0°F. Most refrigerator dials do not show the real temperature, so the FDA suggests inexpensive freestanding appliance thermometers in both compartments, checked regularly.[2]

    Check your thermometer in 30 seconds

    1. 1Fill a glass with crushed ice and add a little water.[3]
    2. 2Insert the stem about 2 inches and wait 30 seconds.[3]
    3. 3It should read 32°F. Dial thermometers can usually be adjusted with the calibration nut under the head; some digital models cannot be calibrated.[3]

    What to look for when you shop

    Thermometer types
    Type Best for Look for
    Instant-read digital Quick checks of steaks, burgers, chicken Thin probe tip; fast reading; readable display
    Leave-in probe Roasts, smokers, oven cooking Heat-safe cable; alarm at target temperature
    Dial (bimetal) Budget backup Calibration nut for adjustment
    Appliance thermometer Fridge and freezer Range that covers 0°F and 40°F clearly

    Kitchen temperature kit

    • One instant-read food thermometer
    • One appliance thermometer each for fridge and freezer
    • Fridge ≤ 40°F, freezer 0°F
    • Ice-water check reads 32°F
    • Poultry 165°F, ground meat 160°F, whole cuts 145°F + rest

    Sources

    Every figure in this guide comes from the official sources below. We summarize them in our own words; check the source for the full guidance.

    1. 1Safe Minimum Internal TemperaturesFoodSafety.gov (U.S. Department of Health and Human Services)
    2. 2Refrigerator Thermometers: Cold Facts about Food SafetyU.S. Food and Drug Administration
    3. 3Is Your Food Thermometer Accurate?Academy of Nutrition and Dietetics (EatRight.org)

    This guide is general consumer information, not medical, legal or professional advice. Always follow the manufacturer’s instructions for your product. See our editorial policy and affiliate disclosure.
    Photo: Robert Cwicinski on Unsplash

  • The Family Day-Hike and Camping Gear Checklist

    The Family Day-Hike and Camping Gear Checklist

    Key takeaways

    • Pack the NPS Ten Essentials on every hike, even a short one.
    • In the mountains, plan to be off exposed terrain before early-afternoon thunderstorms.
    • Children under 13 must wear a USCG-approved life jacket while a boat is underway, under federal law (state rules may differ).

    The Ten Essentials

    The National Park Service’s Ten Essentials[1]
    Essential What to pack
    Navigation Map, compass, GPS
    Sun protection Sunglasses, sunscreen, hat
    Insulation Jacket, hat, gloves, rain shell, extra layers
    Illumination Flashlight or headlamp
    First aid First-aid supplies
    Fire Matches or lighter and fire starters
    Repair kit and tools Duct tape, knife, multi-tool, scissors
    Nutrition Extra food
    Hydration Water and a way to treat more
    Emergency shelter Tent, space blanket, tarp or bivy

    The NPS suggests packing an extra layer for the worst conditions you could meet, and bright clothing so you are easier to spot. Long sleeves and pants cut sun exposure too. In heat, drink often, before you feel thirsty.[1]

    Weather: plan around lightning

    The National Weather Service is blunt: the only fully safe place in a thunderstorm is inside a building or a vehicle. Tents and picnic shelters do not protect you. Mountain storms often build in the early afternoon, so start early and plan to be down from exposed areas by around noon. A portable NOAA Weather Radio helps.[2]

    Ticks and mosquitoes

    • Use an EPA-registered repellent with DEET, picaridin, IR3535, oil of lemon eucalyptus, PMD or 2-undecanone; look for the EPA registration number on the label.[3]
    • Using sunscreen as well? Put the sunscreen on first.[3]
    • Treat clothing and gear with 0.5% permethrin, or buy pre-treated gear.[3]
    • After the hike: check bodies and pets, shower within two hours, and tumble-dry dry clothes on high heat for 10 minutes (longer if damp).[3]

    On the water: life jackets that fit

    Federal law requires children under 13 to wear a U.S. Coast Guard-approved life jacket while a recreational boat is underway, with limited exceptions such as being below deck or in an enclosed cabin; state rules may differ.[4]

    Children’s life jacket sizes (USCG)[4]
    Size Weight range
    Infant Up to 33 lb
    Child 33–55 lb
    Youth 55–88 lb

    A foam jacket should fit snugly and not ride up over the chin or ears. Test foam jackets for buoyancy every year and replace any that are waterlogged or damaged.[4]

    Grab-and-go pack

    • Map and compass or GPS
    • Sunscreen, hats, sunglasses
    • Rain shell and an extra warm layer per person
    • Headlamp, first-aid kit, fire starter, multi-tool
    • Extra food and water plus treatment
    • Emergency blanket
    • EPA-registered insect repellent
    • USCG-approved life jackets that fit, for any boating

    Sources

    Every figure in this guide comes from the official sources below. We summarize them in our own words; check the source for the full guidance.

    1. 1The Ten EssentialsNational Park Service
    2. 2Lightning Safety for Hikers and CampersNational Weather Service (NOAA)
    3. 3Preventing Tick BitesCenters for Disease Control and Prevention
    4. 4Life Jacket WearU.S. Coast Guard Boating Safety

    This guide is general consumer information, not medical, legal or professional advice. Always follow the manufacturer’s instructions for your product. See our editorial policy and affiliate disclosure.
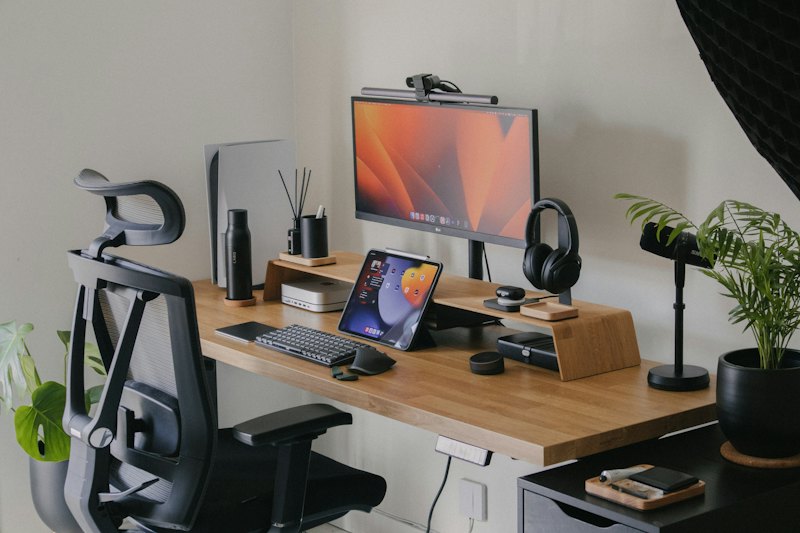
    Photo: Dave Hoefler on Unsplash

  • Buying an Energy-Efficient TV: How to Read the Labels

    Buying an Energy-Efficient TV: How to Read the Labels

    Key takeaways

    • ENERGY STAR certified TVs are on average about 34% more efficient than conventional models.
    • The yellow EnergyGuide label shows a TV’s estimated yearly energy cost and the range for similar sizes.
    • Certified TVs must use 0.5 W or less in sleep mode.

    What ENERGY STAR certification covers

    ~34%

    Average efficiency gain of certified TVs vs. conventional models[1]

    ≤ 0.5 W

    Maximum sleep-mode power for certified TVs[1]

    Up to 70%

    Efficiency gain for certified sound bars[1]

    Certification looks at every operating mode. On-mode power limits scale with screen area, so a bigger certified TV is allowed to use more power, but less than a comparable conventional set.[1]

    The yellow EnergyGuide label

    TVs are among the products that carry the FTC’s yellow EnergyGuide label. It shows the model’s estimated yearly energy cost in dollars, and where that falls in the range for comparable models.[2,3]

    The FTC updated the comparison ranges in 2024 and now uses an electricity rate of 16 cents per kilowatt-hour. As examples, 24- to 29-inch TVs range from about $5 to $15 a year, and screens 69.5 inches and larger range from about $32 to $155 a year.[3]

    What to look for when you shop

    • Compare the EnergyGuide dollar figure between the models on your shortlist, not just the screen size and price.[2]
    • Look for the ENERGY STAR mark on the TV and on any sound bar you add.[1]
    • Once it’s home, a lower picture-brightness setting in a dim room usually trims power use further.

    TV energy check

    • ENERGY STAR certified
    • EnergyGuide yearly cost compared across your shortlist
    • Sound bar also ENERGY STAR certified
    • Brightness set for your room, not the showroom

    Sources

    Every figure in this guide comes from the official sources below. We summarize them in our own words; check the source for the full guidance.

    1. 1TelevisionsENERGY STAR (U.S. EPA)
    2. 2How To Use the EnergyGuide Label To Shop for Home AppliancesFederal Trade Commission
    3. 3New energy cost comparisons for TVs: What’s going on behind the screens?Federal Trade Commission

    This guide is general consumer information, not medical, legal or professional advice. Always follow the manufacturer’s instructions for your product. See our editorial policy and affiliate disclosure.
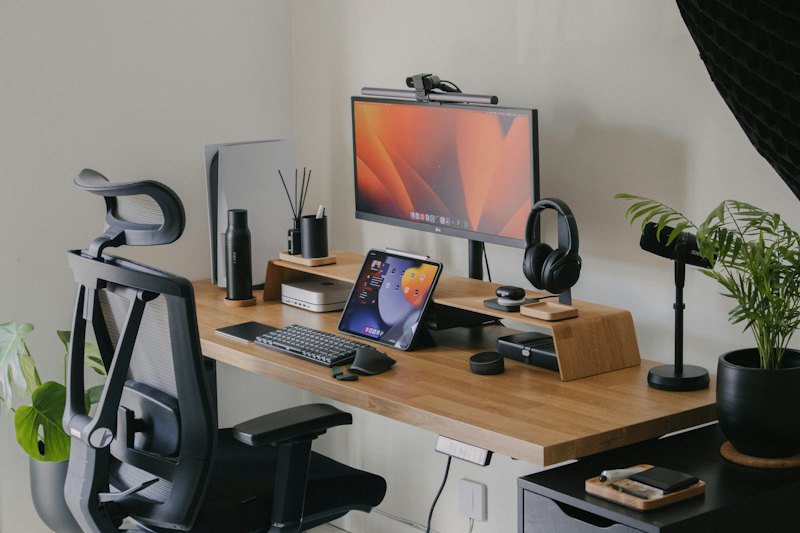
    Photo: Dario on Unsplash

  • Crib Buying Guide: Federal Safety Rules and Safe-Sleep Basics

    Crib Buying Guide: Federal Safety Rules and Safe-Sleep Basics

    Key takeaways

    • Since June 28, 2011, every crib sold in the U.S. must meet federal crib standards; traditional drop-side cribs are banned.
    • Slats no more than 2⅜ inches apart, a firm and tight-fitting mattress, and a fitted sheet only.
    • Babies should sleep on their back, on a firm, flat surface, in the parents’ room but not their bed.

    What federal rules already guarantee

    The Consumer Product Safety Commission’s crib standards took effect on June 28, 2011. Since then, traditional drop-side cribs cannot be made or sold, and immobilizers or repair kits for old drop-side cribs are not allowed. The rules also require stronger wood slats, anti-loosening hardware and more durable mattress supports, backed by tougher testing.[2]

    The measurements to check

    2⅜ in

    Maximum gap between crib slats (about a soda can’s width)[1]

    1/16 in

    Maximum corner-post height, so clothing can’t catch[1]

    < ¼ in

    Mesh openings on mesh-sided cribs and play yards[1]

    The mattress should be firm and fit tightly, so there is no gap where a baby could get trapped between the mattress and the crib frame.[1]

    Safe sleep: what goes in the crib (almost nothing)

    • Place your baby on their back for every nap and at night.[3]
    • Use a firm, flat sleep surface that does not indent under the baby; the AAP warns that any surface inclined more than 10 degrees is unsafe for sleep.[3]
    • Use a fitted sheet only. No pillows, quilts, comforters, sheepskins, bumper pads or stuffed toys.[1,3]
    • Share a room, not a bed, for at least the first six months; the AAP says this can lower SIDS risk by up to 50%.[3]
    • Skip inclined sleepers, baby nests and weighted blankets, sleepers or swaddles.[3]

    What to look for when you shop

    Crib and nursery shopping checklist[1,2,3]
    Item Check
    Crib Sold new in the U.S. after June 2011; no drop side; hardware tight
    Mattress Firm; no gap when pushed toward any side of the crib
    Sheet Fitted, made for your mattress size
    Bassinet or play yard Meets CPSC standards; mesh openings under ¼ in
    Sleep sack Wearable blanket instead of loose bedding; not weighted

    Before the first night

    • No drop side, and all hardware tight
    • Slats no more than 2⅜ in apart
    • Mattress firm with no gaps at the edges
    • Fitted sheet only: no bumpers, pillows or toys
    • Crib in the parents’ room

    Sources

    Every figure in this guide comes from the official sources below. We summarize them in our own words; check the source for the full guidance.

    1. 1Crib Safety TipsU.S. Consumer Product Safety Commission
    2. 2The New Crib Rules (flyer)U.S. Consumer Product Safety Commission
    3. 3How to Keep Your Sleeping Baby Safe: AAP Policy ExplainedHealthyChildren.org, American Academy of Pediatrics

    This guide is general consumer information, not medical, legal or professional advice. Always follow the manufacturer’s instructions for your product. See our editorial policy and affiliate disclosure.

  • Car Seat Buying Guide: Choosing the Right Seat for Each Stage

    Car Seat Buying Guide: Choosing the Right Seat for Each Stage

    Key takeaways

    • Keep your child rear-facing as long as possible, until they outgrow the seat’s rear-facing height or weight limit.
    • Children should ride in the back seat at least through age 12.
    • Register every seat with the manufacturer so you hear about recalls.

    The four stages

    Seat types and the ages NHTSA lists for each[1]
    Seat type Typical ages How it protects
    Rear-facing car seat Birth to 3 years Cradles the head, neck and back in a crash
    Forward-facing seat with harness and tether 1 to 7 years Harness spreads crash forces; tether limits forward head movement
    Booster seat 4 to 12 years Positions the adult belt correctly on a child’s body
    Seat belt 8 to 12 years Once the child fits the belt properly without a booster

    The age ranges overlap on purpose. NHTSA’s advice is to keep a child in each stage for as long as the seat’s own height and weight limits allow, and only then move to the next one. In particular, keep your child rear-facing as long as possible.[1]

    How to tell a booster is doing its job

    A booster lifts a child so the lap belt lies across the upper thighs, not the stomach, and the shoulder belt crosses the chest, not the neck.[1]

    After you buy: registration, recalls and a free check

    • Register the seat with the manufacturer, by the mail-in card or online, so they can contact you directly about a recall.[2]
    • You can also sign up for NHTSA recall alerts, and search open recalls for car seats on NHTSA’s recall site.[2,3]
    • Certified child passenger safety technicians at inspection stations will check your installation, free in most cases; some offer virtual checks.[2]
    • Buying used? NHTSA publishes a used car seat safety checklist.[2]

    325

    Children under 5 saved by car seats in one year, per NHTSA[1]

    39%

    Share of children killed in crashes in 2024 who were unrestrained, per NHTSA[1]

    What to look for when you shop

    • Height and weight limits for each mode, printed on the seat label. Higher rear-facing limits let a child stay rear-facing longer.
    • A seat that fits your vehicle’s back seat and installs tightly with LATCH or the seat belt.
    • An easy-to-read harness adjustment, so you actually re-adjust it as your child grows.
    • A registration card in the box, or an online registration page from the manufacturer.[2]

    Car seat checklist

    • Right stage for your child’s size and the seat’s limits
    • Rear-facing as long as the seat allows
    • Seat registered with the manufacturer
    • Installation checked by a certified technician
    • Back seat for every child, at least through age 12

    Sources

    Every figure in this guide comes from the official sources below. We summarize them in our own words; check the source for the full guidance.

    1. 1Car Seats and Booster SeatsNational Highway Traffic Safety Administration
    2. 2Car Seat RegistrationNational Highway Traffic Safety Administration
    3. 3Check for RecallsNational Highway Traffic Safety Administration

    This guide is general consumer information, not medical, legal or professional advice. Always follow the manufacturer’s instructions for your product. See our editorial policy and affiliate disclosure.

  • Air Purifier Buying Guide: CADR, Room Size and What to Avoid

    Air Purifier Buying Guide: CADR, Room Size and What to Avoid

    Key takeaways

    • Match the clean air delivery rate (CADR) to your room: EPA’s table works out to about two-thirds of the room’s square footage.
    • Avoid ozone generators; no federal agency has approved them for occupied spaces.
    • ENERGY STAR certification means lower running costs, not better cleaning.

    Size it with CADR

    CADR, the clean air delivery rate, is the figure designed to help you match a portable air cleaner to a room. A higher CADR moves more filtered air. The EPA publishes minimum CADR values for particles by room size.[1]

    EPA minimum CADR for particles by room size (8-ft ceilings)[1]
    Room area (sq ft) Minimum CADR (cfm)
    100 65
    200 130
    300 195
    400 260
    500 325
    600 390

    Filters and what to skip

    Portable units often reach high CADRs by using HEPA filters. Filters need to be replaced on schedule to keep performing, so check the cost and availability of replacements before you buy.[1]

    If your home has central heating and air conditioning, the EPA suggests using a MERV 13 filter, or the highest rating your system can handle.[1]

    What the ENERGY STAR label means here

    ENERGY STAR measures efficiency, not cleaning power. Certified room air cleaners are more than 50% more energy-efficient than standard models, which the program estimates can save about $18 to $40 a year depending on size. Certified models must also keep measured ozone at or below 50 parts per billion.[2,3]

    > 50%

    More energy-efficient than standard models (ENERGY STAR)[2]

    $18–$40

    Estimated yearly savings, by unit size[2]

    ≤ 50 ppb

    Ozone limit for certified models[3]

    Air purifier checklist

    • CADR at least about 2/3 of the room’s square feet
    • HEPA filter, with affordable replacements
    • No intentional ozone generation
    • ENERGY STAR certified for lower running costs
    • Quiet enough at the speed you’ll actually use

    Sources

    Every figure in this guide comes from the official sources below. We summarize them in our own words; check the source for the full guidance.

    1. 1Guide to Air Cleaners in the HomeU.S. Environmental Protection Agency
    2. 2Air CleanersENERGY STAR (U.S. EPA)
    3. 3Room Air Cleaners: Key Product CriteriaENERGY STAR (U.S. EPA)

    This guide is general consumer information, not medical, legal or professional advice. Always follow the manufacturer’s instructions for your product. See our editorial policy and affiliate disclosure.

    Photo: Minh Pham on Unsplash